
")

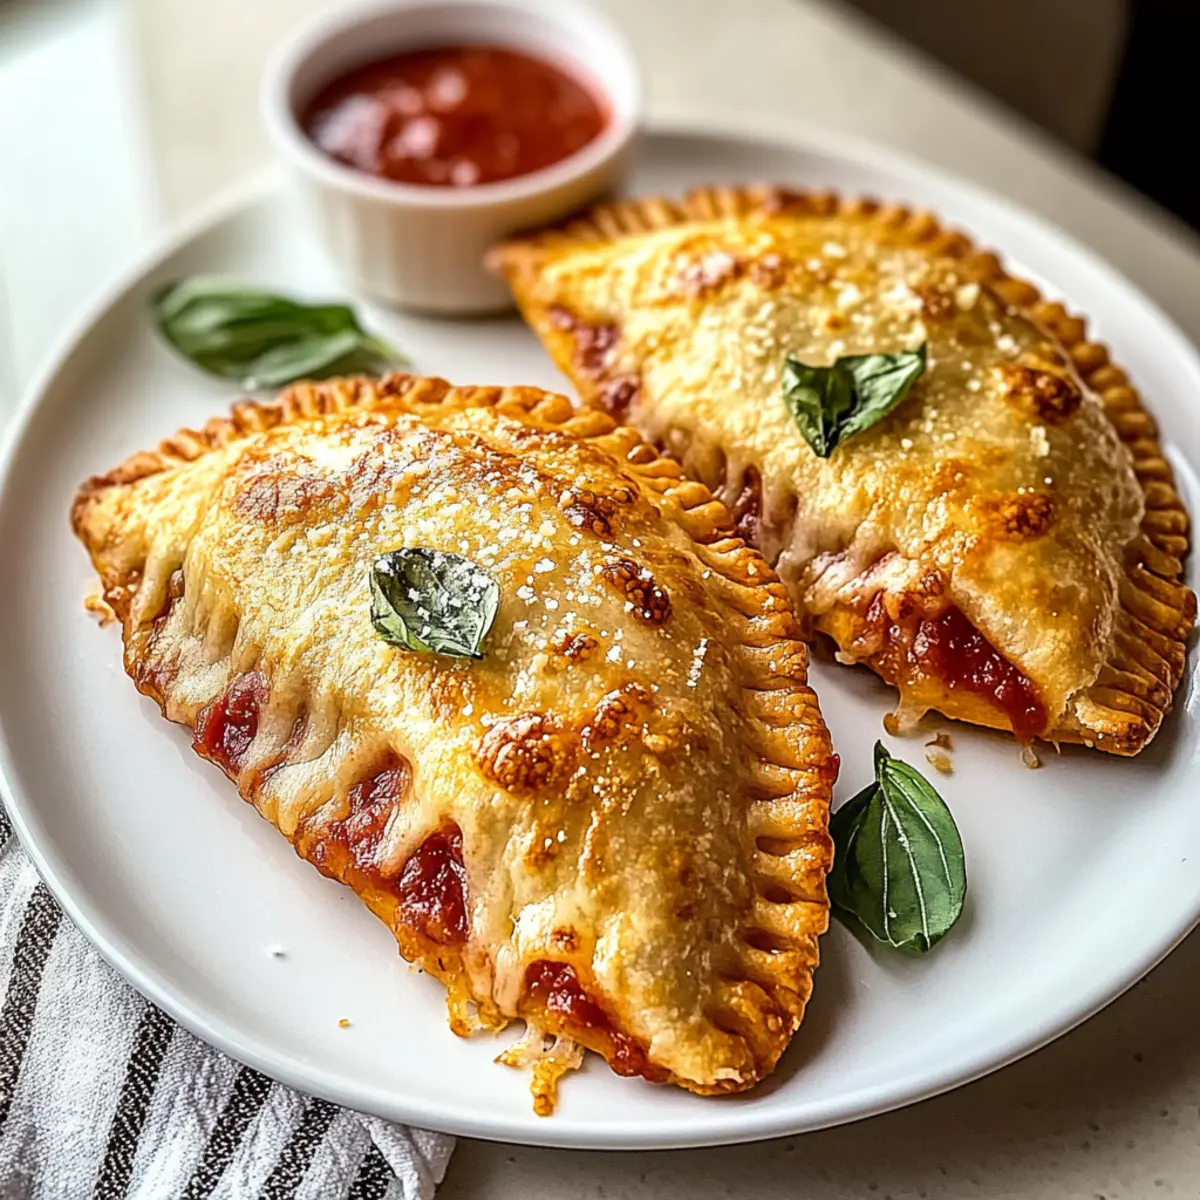
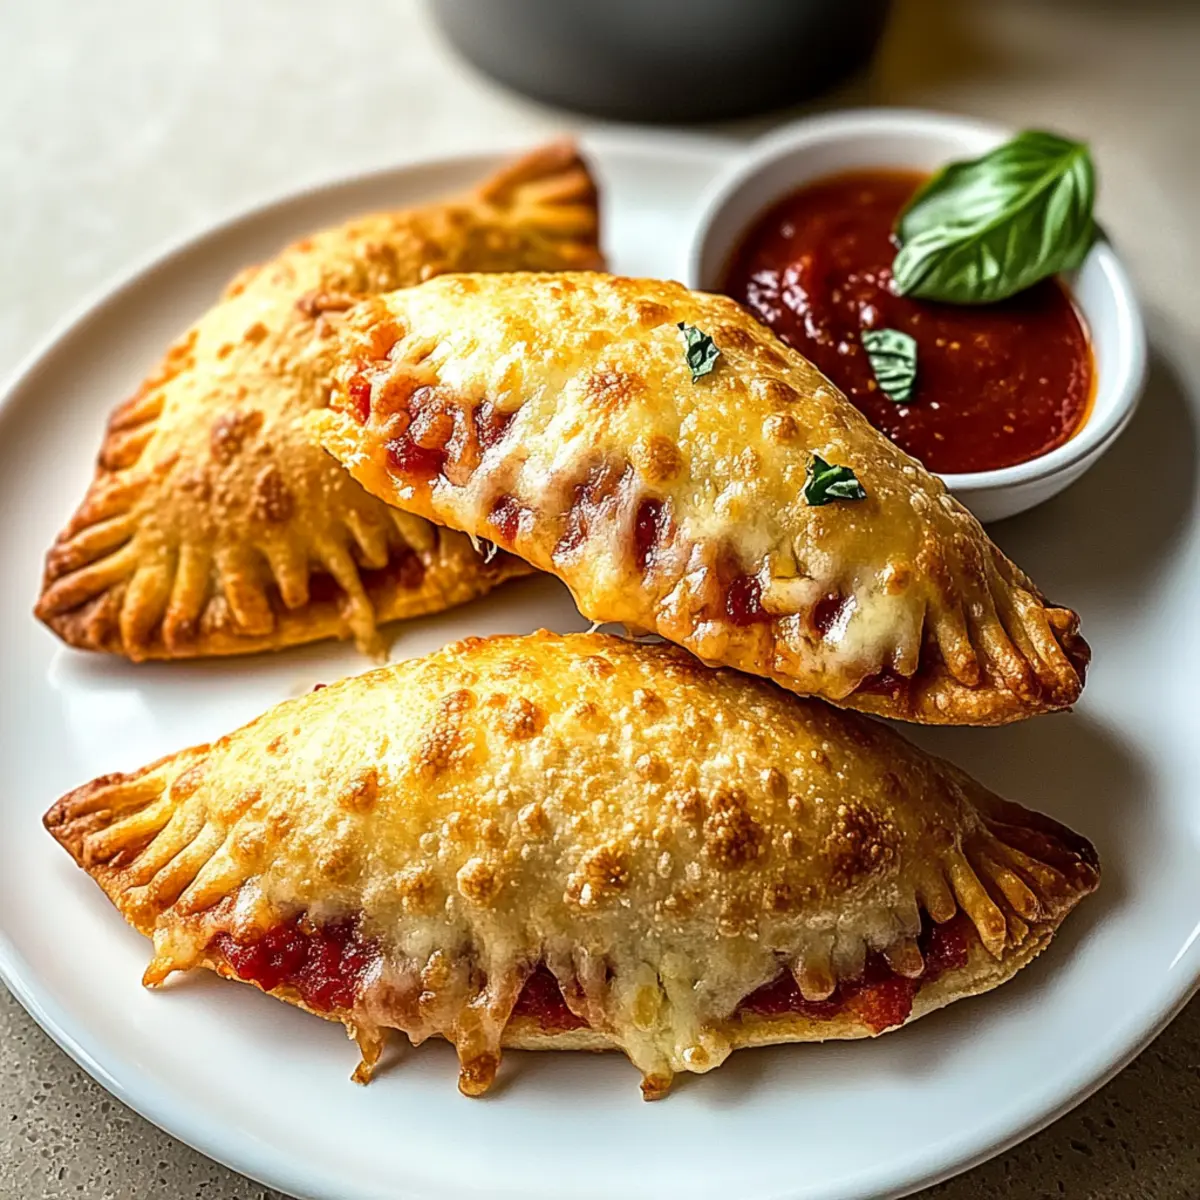
Walking into my kitchen, the aroma of melting cheese and freshly baked dough is a delightful sign that comfort food is on the way. Today, I’m excited to share my Homemade Cheesy Pizza Pockets recipe—a perfect combination of flaky, buttery pastry and gooey mozzarella that captures the essence of casual, joyful eating. These delightful bites are not only super easy to whip up but are also a crowd-pleaser, making them ideal for snacks or fun get-togethers. You can customize them with your favorite fillings, so whether you crave classic pepperoni or a veggie twist, there’s no limit to the deliciousness you can create. Curious about how to make your own scrumptious pizza pockets? Let’s dive into this tasty adventure together!
Why are these pizza pockets irresistible?
Simplicity at its finest: The straightforward method requires minimal effort and just a few ingredients, making it perfect for home cooks of all skill levels.
Mouthwatering flavor: Each pocket boasts a delightful combination of gooey mozzarella and savory toppings, ensuring a burst of flavor with every bite.
Versatile options: Customize your pockets with different fillings like sautéed veggies or bold meats, allowing you to cater to everyone’s tastes.

Quick and easy: With just 15-20 minutes in the oven, these snacks come together in no time, perfect for unexpected cravings or spontaneous gatherings.
Crowd-pleasing: Serve these at parties or family get-togethers, and watch everyone enjoy this delightful comfort food, served warm with extra tomato sauce for dipping—who can resist? For a twist, you might find my vegetarian pizza pocket variation particularly appealing!
Homemade Cheesy Pizza Pockets Ingredients
• Let’s gather everything we need for these scrumptious treats!
For the Dough
- Flour – Provides the structure for the dough; can substitute with whole wheat for more fiber or gluten-free blends, but adjustments to liquid may be necessary.
- Salt – Enhances overall flavor, balancing sweetness.
- Baking Powder – Acts as a leavening agent for a light, flaky texture.
- Unsalted Butter (chilled and diced) – Creates a tender crust with flaky layers.
- Milk – Binds the dry ingredients and forms a pliable dough; can use plant-based milk for a dairy-free version.
For the Filling

- Mozzarella Cheese (shredded) – Offers a creamy, stretchy melt, perfect for these homemade cheesy pizza pockets.
- Parmesan Cheese (grated) – Adds a nutty, sharp flavor that layers beautifully with mozzarella.
- Tomato Sauce – Serves as the flavorful base to complement all cheese and toppings.
- Dried Oregano & Basil – Provides classic pizza seasoning notes to enhance the overall taste.
- Pepperoni (or other preferred toppings) – Introduces savory, meaty flavor; feel free to swap in your favorite ingredients!
For the Finish
- Egg (beaten for egg wash) – Gives a golden brown finish; can be substituted with plant-based milk or olive oil for a vegan alternative.
Step‑by‑Step Instructions for Homemade Cheesy Pizza Pockets
Step 1: Preheat the Oven
Begin by preheating your oven to 375°F (190°C). While it heats, line a baking sheet with parchment paper. This will prevent your homemade cheesy pizza pockets from sticking during baking, ensuring a crisp, golden finish. Once the oven reaches the right temperature, you’re ready for the next step—let’s get the dough going!
Step 2: Combine the Dry Ingredients
In a large mixing bowl, combine the flour, salt, and baking powder. Use a whisk to blend them thoroughly, ensuring that the baking powder is evenly distributed throughout the flour. This mixture will be the foundation for your dough, contributing to its light, flaky texture. A well-mixed base is essential for perfect cheesy pizza pockets!
Step 3: Incorporate the Butter
Add the chilled, diced butter to your flour mixture. Using your fingertips or a pastry cutter, rub the butter into the flour until the mixture resembles coarse crumbs. This step is crucial, as it establishes the tender, flaky layers of your crust. Once the butter is well incorporated, it’s time to move on to the liquid ingredients.
Step 4: Form the Dough
Pour in the milk and stir gently until a dough forms. Be careful not to overmix; just enough stirring will bind the ingredients together. The dough should be slightly sticky yet manageable. If it feels too wet, you can sprinkle a little flour over it. Now, it’s time to knead that dough to bring it all together beautifully!
Step 5: Knead the Dough
On a floured surface, gently knead the dough for about 2 minutes or until it’s smooth. Use a light touch; the goal is to develop the gluten slightly without overworking it. Once it’s ready, roll it out to about 1/8-inch thickness. You should see a nice, even surface that will cradle all your cheesy goodness!
Step 6: Cut the Dough Circles
Using a round cutter or a glass, cut the dough into 3-4 inch circles. Aim for uniformity to ensure even baking for your homemade cheesy pizza pockets. As you cut, gather any scraps and re-roll them to make more circles. This way, nothing goes to waste, and you can enjoy more delicious pockets!
Step 7: Prepare the Filling
In a small bowl, mix together the tomato sauce, dried oregano, and basil. This flavorful mixture will add a lovely pizza essence to your pockets. Spoon a small portion of this sauce onto each dough circle, taking care not to overfill. This is where the fun begins, as you choose your toppings next!
Step 8: Add the Cheese and Toppings
Top each dough circle with a generous handful of shredded mozzarella and a sprinkle of grated Parmesan cheese. If you’re feeling adventurous, add pepperoni or any other desired toppings. This melty cheese duo will create the gooey interior every pizza pocket lover craves, making each bite a delightful experience!
Step 9: Seal the Pockets
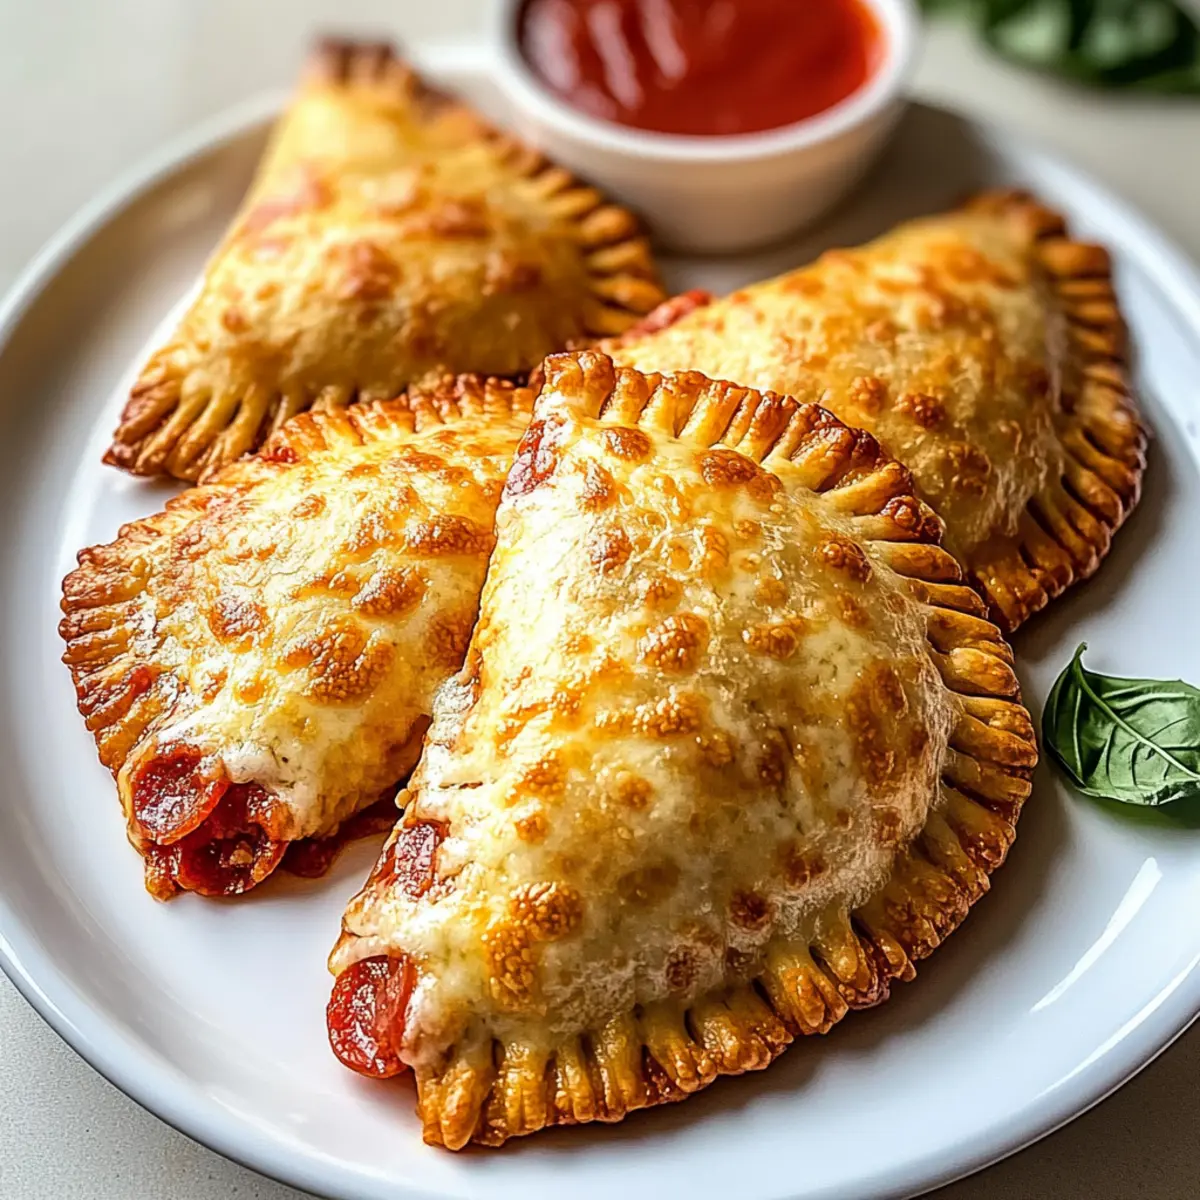
Fold the dough over the filling, creating a half-moon shape. Using a fork, crimp the edges securely to seal the pockets. Make sure you press down firmly; this will keep all that delicious filling inside during baking. You’re almost there—these homemade cheesy pizza pockets are just minutes from the oven!
Step 10: Brush and Bake
Place the filled pockets on the prepared baking sheet. Brush the tops with the beaten egg to give them a beautiful golden brown color while baking. Slide the tray into the preheated oven, and bake for 15-20 minutes, or until the pockets are puffed and golden. Keep an eye on them to avoid over-baking!
Step 11: Cool and Serve
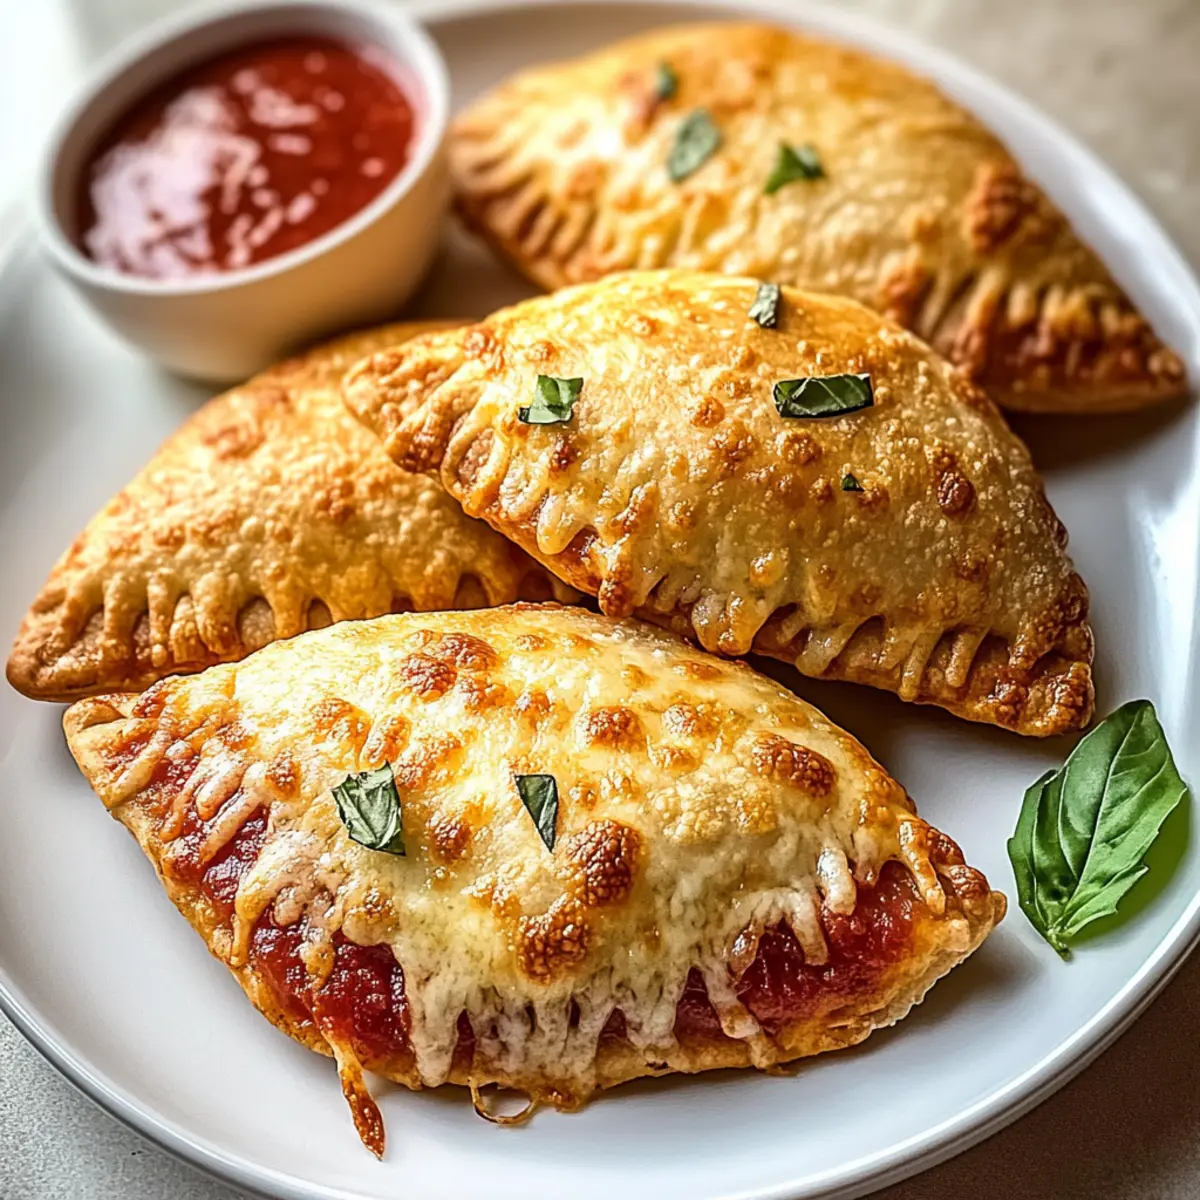
Once the homemade cheesy pizza pockets are out of the oven, let them cool for a few minutes on a wire rack. This brief resting period allows the insides to set slightly, making them easier to handle. Serve warm with extra tomato sauce for dipping, and get ready for delicious bites of cheesy goodness!
How to Store and Freeze Homemade Cheesy Pizza Pockets
Fridge: Store leftover pizza pockets in an airtight container for up to 3 days. They’re great for quick snacks or meals; just reheat them in the oven for best results.
Freezer: You can freeze assembled pizza pockets before baking. Wrap each one tightly in plastic wrap and store in a freezer bag for up to 2 months.
Reheating: To enjoy frozen pizza pockets, thaw them in the refrigerator overnight. Reheat in a 375°F (190°C) oven for 15-20 minutes until heated through and crispy.
Airtight Storage: For cooked pizza pockets, ensure they are completely cool before placing in a container. This helps maintain their crispy texture and cheesy goodness!
Homemade Cheesy Pizza Pockets Variations
Feel free to customize your pizza pockets and make them perfectly suited to your taste buds!
-
Vegetarian Bliss: Replace pepperoni with sautéed mushrooms, bell peppers, or fresh spinach for a vibrant, veggie-packed option. The earthy flavors of sautéed mushrooms complement the cheese beautifully.
-
Spicy Kick: Add crushed red pepper flakes to your filling for a delightful heat. This simple twist will awaken your senses, making every bite exciting!
-
Whole Wheat Dough: Swap regular flour for whole wheat flour to increase fiber content without sacrificing flavor. It adds a hearty, nutty taste that pairs wonderfully with cheesy fillings.
-
Cheesy Explosion: Incorporate a blend of cheeses, such as cheddar or provolone, alongside mozzarella for a melty masterpiece. Each nibble will burst with deliciously complex flavors.
-
Savory Sweet: Add a dash of honey or a sprinkle of brown sugar to the tomato sauce for a subtle sweetness that balances the savory elements. This unexpected twist will surprise your guests!
-
Herb Infusion: Mix fresh herbs like parsley or thyme into the dough for an aromatic touch. It elevates the ambient smell and adds freshness with every savory bite.
-
Dairy-Free Delight: Use dairy-free cheese and plant-based milk to create a delicious vegan version. It’s easy to customize for everyone while keeping all the comfort!
-
Mini Pizza Pockets: Use smaller dough circles to create bite-sized versions perfect for snacking. They’re ideal for serving at parties or as kid-friendly treats to encourage healthy eating.
For more creative ideas, you might enjoy exploring my vegetarian pizza pocket option for a delicious twist!
What to Serve with Homemade Cheesy Pizza Pockets
Bring your comfort food experience to the next level with these delicious sides that will delight your taste buds.
- Classic Caesar Salad: A crisp, refreshing mix of romaine and Parmesan, drizzled with a rich dressing, balances the warmth of the cheesy pockets beautifully.
- Garlic Knots: Soft and buttery garlic knots pair perfectly with pizza pockets. Their chewy texture and rich flavor create a delightful contrast.
- Marinara Dipping Sauce: A side of homemade or store-bought marinara adds an extra layer of flavor. Dip each bite for a gooey, tangy enhancement.
- Homemade Ranch Dressing: This creamy dip brings in a zesty kick that complements the cheesy goodness, making every bite more scrumptious.
- Stuffed Mushrooms: Savory stuffed mushrooms, with their earthy flavor, provide an elegant touch and a delightful bite-sized contrast to the pizza pockets.
- Coleslaw: This crunchy, tangy side adds some freshness to your meal, creating a delightful balance with the richness of the pizza pockets.
These pairing ideas not only elevate your meal but also encourage you to experiment with flavors and textures, enriching your dining experience!
Make Ahead Options
These Homemade Cheesy Pizza Pockets are perfect for meal prep enthusiasts! You can prepare the dough and assemble the pockets up to 24 hours in advance. After crimping the edges, simply place them on a baking sheet, cover tightly with plastic wrap, and refrigerate. This method ensures they stay fresh and ready to bake. When you’re ready to serve, brush with egg wash and bake straight from the fridge—allow an extra few minutes for baking time. For longer storage, you can freeze the assembled pockets for up to 3 months. Just thaw overnight in the fridge before baking, ensuring they are just as delicious and crispy as fresh-made pockets.
Expert Tips for Homemade Cheesy Pizza Pockets
-
Chill the Butter: Using well-chilled butter is key to achieving that flaky crust. If it’s warm, your dough won’t rise as perfectly!
-
Mind the Filling: Avoid overfilling your pizza pockets—about one tablespoon of stuffing per pocket is ideal to prevent bursting during baking.
-
Seal Properly: Make sure to crimp the edges tightly to keep the delicious filling inside. A good seal is essential for homemade cheesy pizza pockets!
-
Watch the Baking Time: Ovens vary, so keep an eye on your pockets—bake until they are golden brown, but check at the 15-minute mark to avoid over-baking.
-
Experiment with Toppings: Feel free to swap out ingredients based on your preferences. From veggies to different meats, customization is key to making these pizza pockets your own!
-
Resting Period: Allow the pizza pockets to cool for a few minutes after baking. This gives the filling time to set and makes them easier to enjoy!
Homemade Cheesy Pizza Pockets Recipe FAQs
What type of flour should I use for the dough?
You can use all-purpose flour for a classic flaky crust. If you prefer more fiber, whole wheat flour works well too, though you may need to adjust the liquid to keep the dough pliable. Gluten-free blends are an option as well, but ensure the mix includes xanthan gum for better texture.
How should I store leftover pizza pockets?
Store any leftover homemade cheesy pizza pockets in an airtight container in the fridge for up to 3 days. When reheating, I recommend popping them back in the oven to keep that delightful crispiness, around 10-15 minutes at 375°F (190°C) should do the trick!
Can I freeze unbaked pizza pockets?
Absolutely! To freeze, carefully wrap each assembled pocket in plastic wrap, then place them in a freezer bag. They’ll stay fresh for up to 2 months. When you’re ready to bake, just thaw them overnight in the fridge, and you’re all set!
Why did my pizza pockets burst while baking?
This usually happens if they’re overfilled. Aim for about one tablespoon of filling per pocket, and ensure to crimp the edges well. If you’re worried, you can also poke a small hole in the top of each pocket to allow steam to escape while baking.
Are there any dietary considerations I should keep in mind?
Definitely! For a dairy-free option, use plant-based butter and cheese, and substitute the egg wash with a bit of olive oil or extra plant-based milk for a nice finish. Always check for allergens, particularly if serving to others; offer alternatives for common ingredients like pepperoni.
How long do pizza pockets last in the freezer?
Frozen homemade cheesy pizza pockets can be stored for up to 3 months. Just make sure they’re tightly wrapped to prevent freezer burn. When ready to cook, simply thaw in the fridge overnight for the best texture and flavor!

Homemade Cheesy Pizza Pockets: A Comforting Snack Delight
Equipment
- mixing bowl
- Rolling Pin
- Baking Sheet
- Parchment Paper
- Round cutter
Ingredients
For the Dough
- 2 cups Flour Can substitute with whole wheat or gluten-free blends.
- 1 teaspoon Salt Enhances overall flavor.
- 1 tablespoon Baking Powder Acts as a leavening agent.
- 1/2 cup Unsalted Butter (chilled and diced) Creates a tender crust.
- 1/2 cup Milk Can use plant-based milk.
For the Filling
- 1 cup Mozzarella Cheese (shredded) Offers a creamy, stretchy melt.
- 1/4 cup Parmesan Cheese (grated) Adds nutty flavor.
- 1/2 cup Tomato Sauce Flavorful base.
- 1 teaspoon Dried Oregano Classic pizza seasoning.
- 1 teaspoon Dried Basil Classic pizza seasoning.
- 1/2 cup Pepperoni Or other preferred toppings.
For the Finish
- 1 large Egg (beaten for egg wash) Can substitute with plant-based milk or olive oil.
Instructions
Step-by-Step Instructions
- Preheat your oven to 375°F (190°C). Line a baking sheet with parchment paper.
- Combine flour, salt, and baking powder in a mixing bowl using a whisk.
- Add chilled, diced butter to the flour mixture and rub until it resembles coarse crumbs.
- Pour in the milk and stir gently until a dough forms.
- Knead the dough on a floured surface for about 2 minutes until smooth.
- Roll out the dough to about 1/8-inch thickness and cut into 3-4 inch circles.
- Mix together the tomato sauce, oregano, and basil in a small bowl.
- Top each dough circle with the sauce, mozzarella, Parmesan, and desired toppings.
- Fold the dough over the filling and crimp the edges to seal.
- Brush the tops with the beaten egg and bake for 15-20 minutes until golden brown.
- Cool on a wire rack for a few minutes before serving with extra tomato sauce.