
")

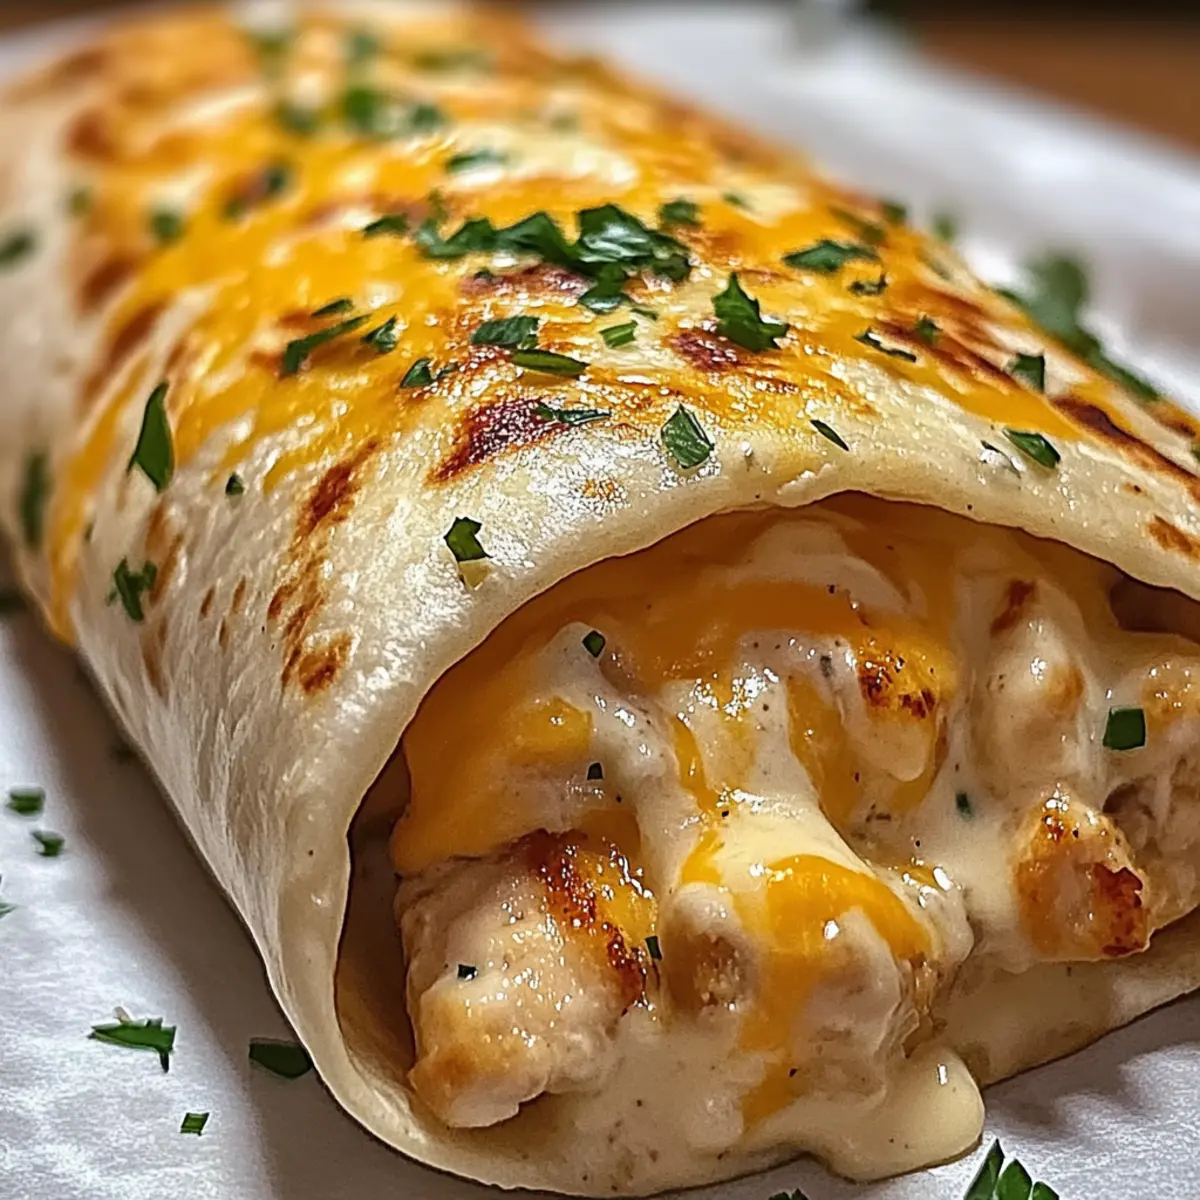
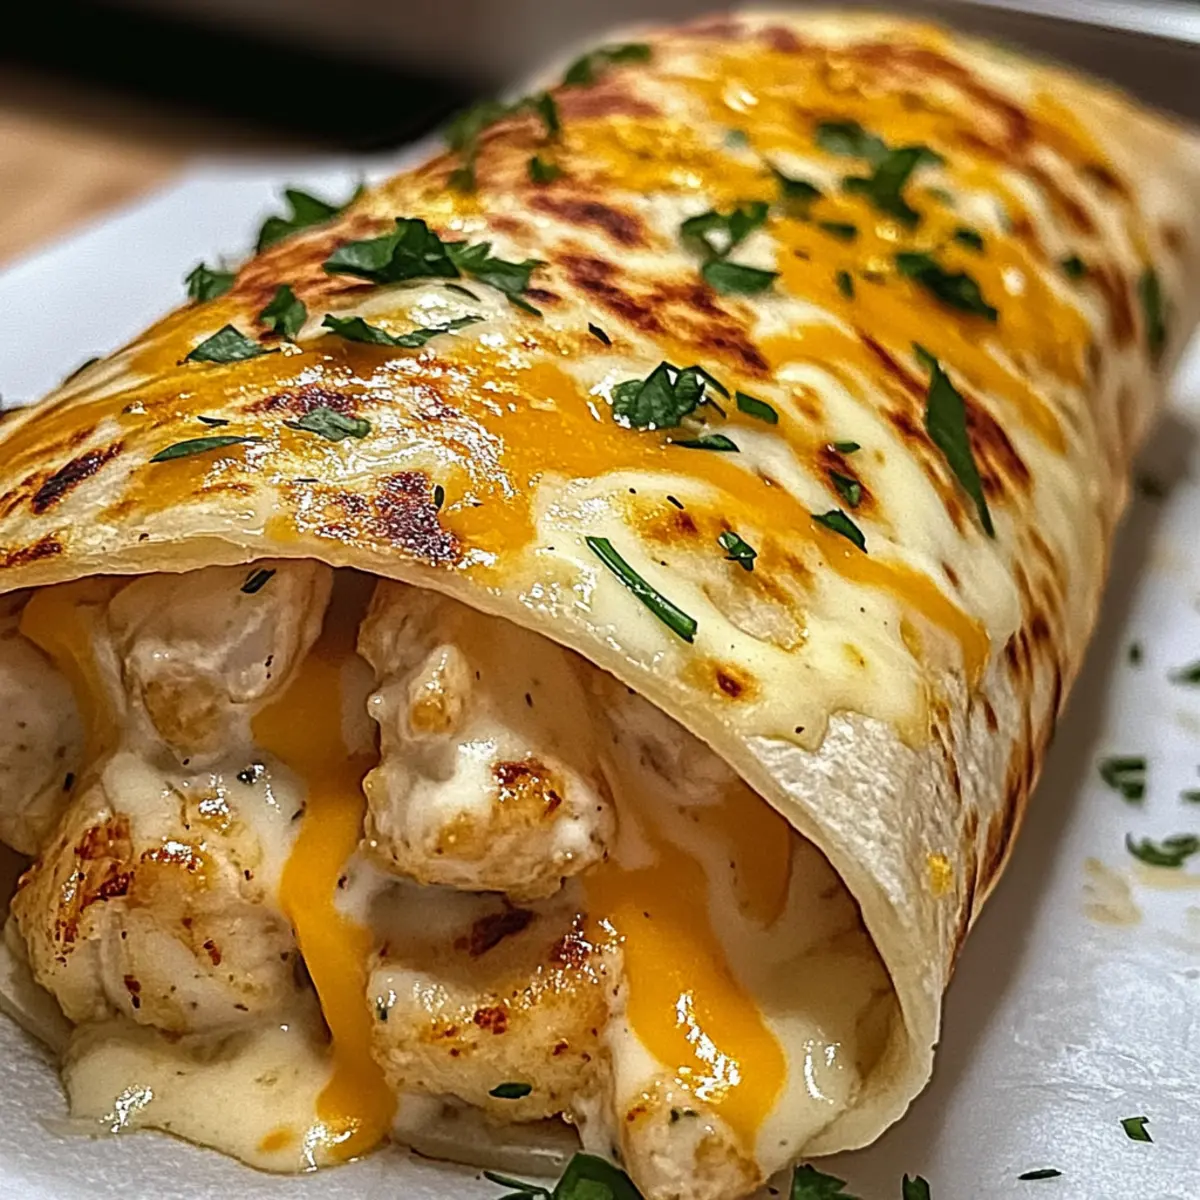
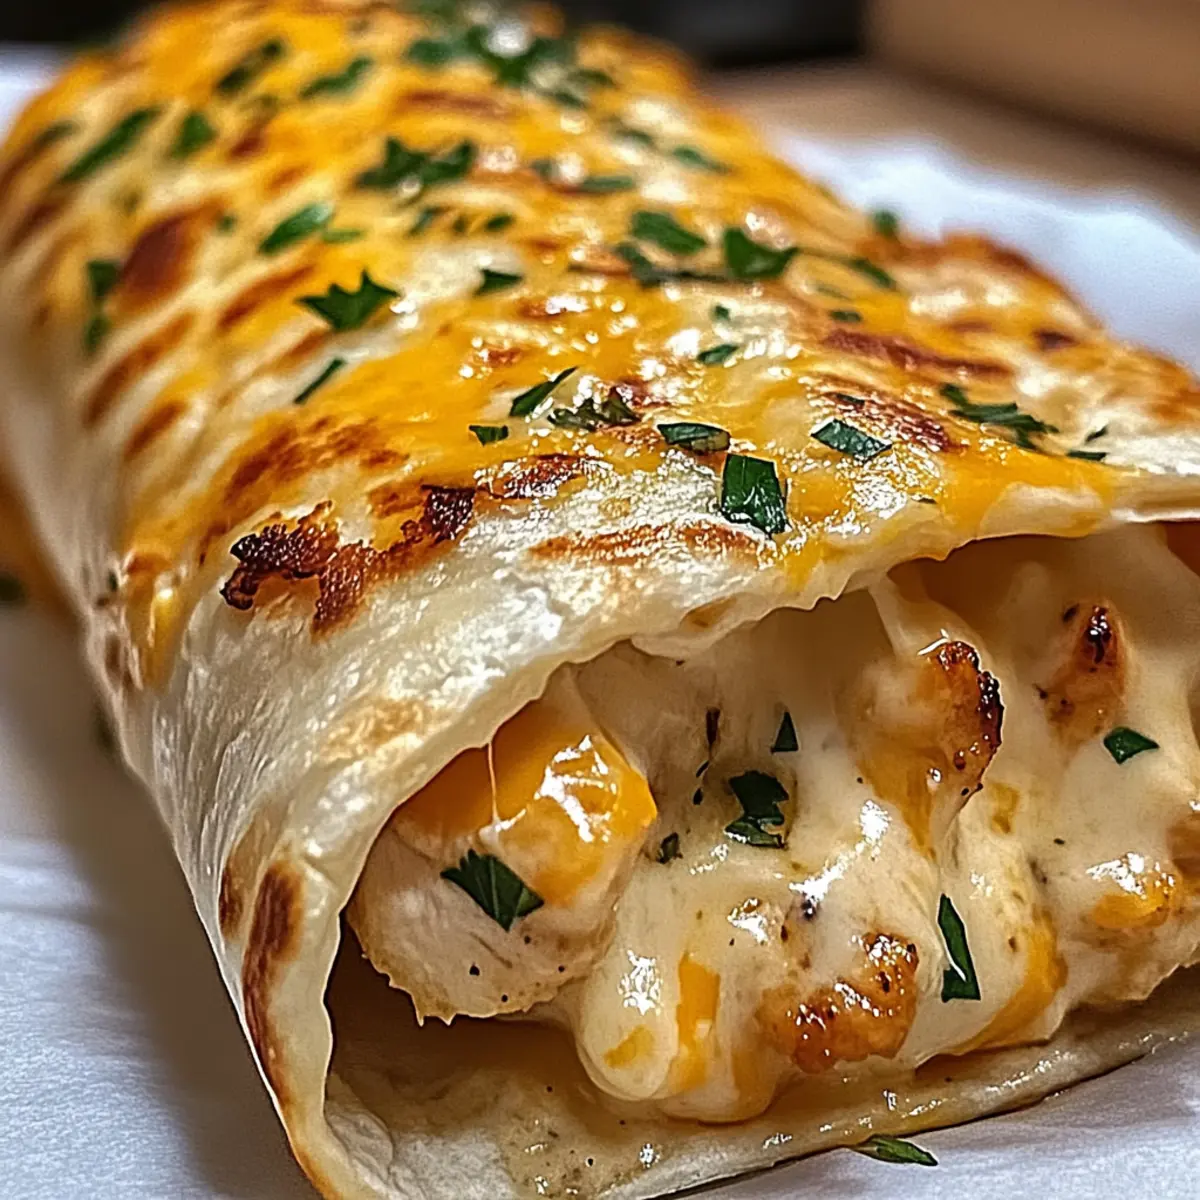
In the midst of a bustling kitchen, I couldn’t help but overhear the mouthwatering praise for these Ooey-Gooey Cheesy Garlic Chicken Wraps. They’ve quickly become my go-to meal for busy nights or casual gatherings, striking the perfect balance between comfort and ease. With creamy cheese and juicy shredded chicken wrapped in a golden tortilla, this quick meal is not only a crowd-pleaser but also remarkably customizable. In just 25 minutes, you can whip up a dish that caters to everyone’s tastes—add your favorite veggies or mix in a spicy kick if you’re feeling adventurous! Are you ready to dive into the cheesy goodness? Let’s get cooking!
Why are these wraps a dinner favorite?
Quick and Easy: Whipping up these Cheesy Garlic Chicken Wraps takes only 25 minutes, making them ideal for weeknight dinners or last-minute gatherings.
Flavor Explosion: Each bite delivers a mouthwatering mix of creamy cheese and aromatic garlic, satisfying your taste buds.
Customizable Goodness: Feel free to add your favorite veggies or even spice things up with jalapeños for a personal touch!
Crowd-Pleaser: Perfect for both kids and adults, these wraps guarantee smiles all around, making them a staple for any dinner table.
Health-Conscious: At around 350 calories per wrap, enjoy a guilt-free meal that’s nutritious and fulfilling.
Cheesy Garlic Chicken Wraps Ingredients
For the Filling
- Shredded Chicken – Primary protein source; use leftover rotisserie chicken for convenience.
- Mozzarella Cheese – Provides creaminess and melts beautifully; substitute with cheddar for a different flavor.
- Cream Cheese – Adds rich texture to the filling; low-fat cream cheese can lighten the recipe.
- Minced Garlic – Infuses the filling with aromatic flavor; roasted garlic can enhance sweetness.
- Chopped Parsley – Offers freshness and color; swap with cilantro for a bolder taste.
For the Wraps

- Tortillas – Envelopes the filling; use whole wheat or gluten-free tortillas to cater to dietary needs.
- Olive Oil – Used for cooking the wraps; can substitute with any neutral oil.
Feel free to let your creativity shine while preparing these Cheesy Garlic Chicken Wraps!
Step‑by‑Step Instructions for Cheesy Garlic Chicken Wraps
Step 1: Prepare Filling
In a large mixing bowl, combine shredded chicken, mozzarella cheese, cream cheese, minced garlic, and chopped parsley. Use a fork to mix everything until fully incorporated and creamy. The filling should be thick and uniform, with the cheese evenly distributed throughout. This rich mixture will be the heart of your Cheesy Garlic Chicken Wraps.
Step 2: Season
Next, season your filling with salt and pepper to taste. Start with a pinch of each, mixing well to ensure every bite is flavorful. Taste test and adjust if necessary, ensuring the cheesy mixture is well-balanced and full of that delicious garlic aroma. This step is essential for enhancing the overall taste of your wraps.
Step 3: Assemble Wraps
Lay tortilla wraps flat on a clean surface. Use a generous spoonful of the chicken mixture and evenly spread it across the center of each tortilla. Be careful not to overfill! Roll the tortilla tightly, folding in the sides as you go to secure the filling. These Cheesy Garlic Chicken Wraps should be snug and ready for cooking.
Step 4: Cook
Heat a skillet over medium heat and drizzle in olive oil, ensuring the base is well-coated. Once hot, place the wraps seam-side down in the skillet. Cook for 3-4 minutes or until they turn golden brown and crispy. Carefully flip each wrap using a spatula, and continue cooking for an additional 3-4 minutes to achieve that perfect crunch.

Step 5: Serve
Once both sides are beautifully browned and crispy, remove the wraps from the skillet and let them cool for a moment. Slice the Cheesy Garlic Chicken Wraps in half diagonally for a stunning presentation. Serve them warm with your favorite dipping sauce, such as ranch or salsa, to elevate this easy dinner recipe.
Storage Tips for Cheesy Garlic Chicken Wraps
Fridge: Store leftover Cheesy Garlic Chicken Wraps in an airtight container for up to 3 days to maintain freshness and flavor.
Freezer: For longer storage, tightly wrap the wraps in plastic wrap and place in a freezer-safe container. They can be frozen for up to 3 months.
Reheating: When ready to enjoy, reheat the wraps in a skillet over medium heat for the best texture, about 3-4 minutes per side. This keeps them crispy and delicious!
Avoid Moisture: To prevent sogginess, ensure the wraps are completely cool before sealing them in containers.
Expert Tips for Cheesy Garlic Chicken Wraps
• Tuck and Roll: Ensure you tuck in the sides while rolling to keep your filling secure. This prevents any deliciousness from spilling out during cooking.
• Oil Temperature: Make sure your oil is hot before adding the wraps; this helps achieve a golden, crispy exterior while preventing them from sticking to the pan.
• Vegetable Power: Don’t hesitate to experiment! Adding veggies like sautéed bell peppers or fresh spinach can enhance the flavor of your Cheesy Garlic Chicken Wraps and boost nutrition.
• Cheese Choices: Try mixing in different cheeses for a unique twist. Pepper jack adds a spicy kick, while feta could lend a delightful tang.
• Avoid Overfilling: Be conservative with your filling! If you overstuff, the wraps may burst while cooking, preventing a perfect, crispy finish.
• Leftover Magic: If you have leftover wraps, store them in an airtight container! They stay fresh in the refrigerator for up to three days, making for easy lunches or quick dinners later.
What to Serve with Cheesy Garlic Chicken Wraps
As you prepare these irresistible wraps, consider pairing them with delightful sides that elevate your dinner experience.
-
Crispy Sweet Potato Fries: Their natural sweetness and crunchy texture create a delightful contrast to the creamy wraps, making each bite satisfying. Serve with a sprinkle of sea salt for an extra kick!
-
Fresh Garden Salad: A light salad with mixed greens, cherry tomatoes, and cucumber adds a refreshing crunch that balances the wraps’ rich flavors. Drizzle with a tangy vinaigrette for a burst of brightness.
-
Garlic Butter Corn on the Cob: Sweet and buttery, this side complements the garlic notes in the wraps perfectly. Its juicy kernels provide a burst of flavor with each bite, making it an instant favorite.
-
Zesty Coleslaw: Crunchy cabbage slaw dressed in a tangy vinaigrette offers a tangy contrast, cutting through the richness of the cheesy filling. This makes it a refreshing addition to your meal.
-
Creamy Tomato Soup: A warm bowl of tomato soup provides a comforting dip for your wraps, enhancing the meal with its rich, savory flavor. The combination is heartwarming and satisfying.
-
Spicy Salsa and Guacamole: Served as dips, these vibrant flavors pair perfectly with the wraps, allowing for a mingling of textures and tastes. The creaminess of the guacamole adds another layer of richness and fun!
-
Sparkling Lemonade: A refreshing drink option, its zesty notes enhance the savory flavors of the wraps while providing a lovely fizz that awakens the palate.
Feel free to mix and match these sides to create your perfect meal alongside the cheesy garlic chicken wraps!
Cheesy Garlic Chicken Wraps Variations
Feel free to explore new flavors and textures with these delightful adaptations of your Cheesy Garlic Chicken Wraps!
-
Dairy-Free: Use a dairy-free cream cheese and omit mozzarella for a creamy vegan alternative.
-
Veggie-Packed: Boost nutrition by adding sautéed spinach, bell peppers, or zucchini to the filling for added color and crunch.
-
Whole Wheat: Swap regular tortillas for whole wheat or spinach tortillas for a wholesome twist.
-
Spicy Kick: Mix in chopped jalapeños or a sprinkle of cayenne pepper for a zesty punch that elevates these wraps.
-
BBQ Flavors: Replace the minced garlic with your favorite barbecue sauce for a smoky, sweet flavor explosion.
-
Cheese Lovers: Experiment with different cheeses like gouda or pepper jack; they will melt beautifully and add unique flavors.
-
Crunchy Add-ins: Incorporate crushed tortilla chips or nuts for an exciting crunch that complements the creamy filling.
-
Sweet & Savory: Try adding a spoonful of diced mango or pineapple for a sweet contrast to the savory chicken and cheese mixture.
Feel free to let your imagination run wild and make these wraps truly yours! For other tasty ideas, check out my delicious Ranch Dressing to elevate your dipping game or consider making a side of Spicy Aioli for that extra flare!
Make Ahead Options
These Cheesy Garlic Chicken Wraps are perfect for meal prep, saving you time during busy weeknights! You can prepare the filling (shredded chicken, cheeses, garlic, and herbs) up to 24 hours in advance—just refrigerate it in an airtight container. Additionally, assemble the wraps and store them in the fridge for up to 3 days before cooking. To maintain their quality, be sure to wrap them tightly to prevent drying out. When you’re ready to enjoy, simply heat olive oil in a skillet and cook your wraps until golden brown, and you’ll have a delicious meal waiting for you with minimal effort! This way, you can enjoy these comforting Cheesy Garlic Chicken Wraps anytime.

Cheesy Garlic Chicken Wraps Recipe FAQs
How do I choose ripe ingredients for my wraps?
Absolutely! When selecting vegetables like bell peppers or spinach, look for vibrant colors and firm textures. For the garlic, choose bulbs that feel heavy and have tight, unblemished skins. Freshness is key for ensuring delicious flavor in your Cheesy Garlic Chicken Wraps!
What’s the best way to store leftover wraps?
Very! After allowing the Cheesy Garlic Chicken Wraps to cool, place them in an airtight container. They will stay fresh in the refrigerator for up to 3 days. If you want to keep them longer, freezing is a great option!
How can I freeze these wraps properly?
Of course! To freeze your Cheesy Garlic Chicken Wraps, let them cool completely. Then, wrap each one tightly in plastic wrap and place them in a freezer-safe container or resealable bag. Label them with the date, and they can be stored for up to 3 months. When you’re ready to eat, simply reheat them in a skillet for about 3-4 minutes per side for a crispy finish!
What if my wraps come apart while cooking?
No worries! If your wraps start to open up, it might be due to overfilling. Next time, try using a smaller amount of filling, and ensure that you tuck in the sides while rolling. Also, make sure the oil is hot enough; this helps seal them in place, forming that perfect golden crust.
Are these wraps pet-friendly?
No, it’s best to keep these wraps away from pets. Ingredients like garlic and certain cheeses can be harmful to animals. Make sure to enjoy your Cheesy Garlic Chicken Wraps yourself and consider preparing a pet-friendly version without harmful ingredients if they’re interested in joining the snack time!
Can I make these wraps in advance?
Absolutely! You can assemble the wraps ahead of time and keep them refrigerated for up to a day before cooking. Just remember to store them in an airtight container to prevent them from drying out. When you’re ready, cook them right before serving for the best results!

Cheesy Garlic Chicken Wraps You’ll Crave for Dinner
Equipment
- Skillet
- mixing bowl
- spatula
Ingredients
For the Filling
- 2 cups Shredded Chicken Use leftover rotisserie chicken for convenience.
- 1 cup Mozzarella Cheese Substitute with cheddar for a different flavor.
- 4 oz Cream Cheese Low-fat cream cheese can lighten the recipe.
- 2 cloves Minced Garlic Roasted garlic can enhance sweetness.
- 2 tbsp Chopped Parsley Swap with cilantro for a bolder taste.
For the Wraps
- 4 large Tortillas Use whole wheat or gluten-free tortillas to cater to dietary needs.
- 2 tbsp Olive Oil Can substitute with any neutral oil.
Instructions
Step-by-Step Instructions
- In a large mixing bowl, combine shredded chicken, mozzarella cheese, cream cheese, minced garlic, and chopped parsley. Mix until fully incorporated and creamy.
- Season your filling with salt and pepper to taste, ensuring it's flavorful.
- Lay tortilla wraps flat. Spread a generous spoonful of the chicken mixture across the center of each tortilla. Roll tightly, tucking in the sides.
- Heat a skillet over medium heat, drizzle in olive oil. Once hot, place wraps seam-side down and cook for 3-4 minutes until golden brown. Flip and cook for another 3-4 minutes.
- Remove wraps from skillet, let cool slightly, and slice diagonally for serving. Serve warm with dipping sauce.