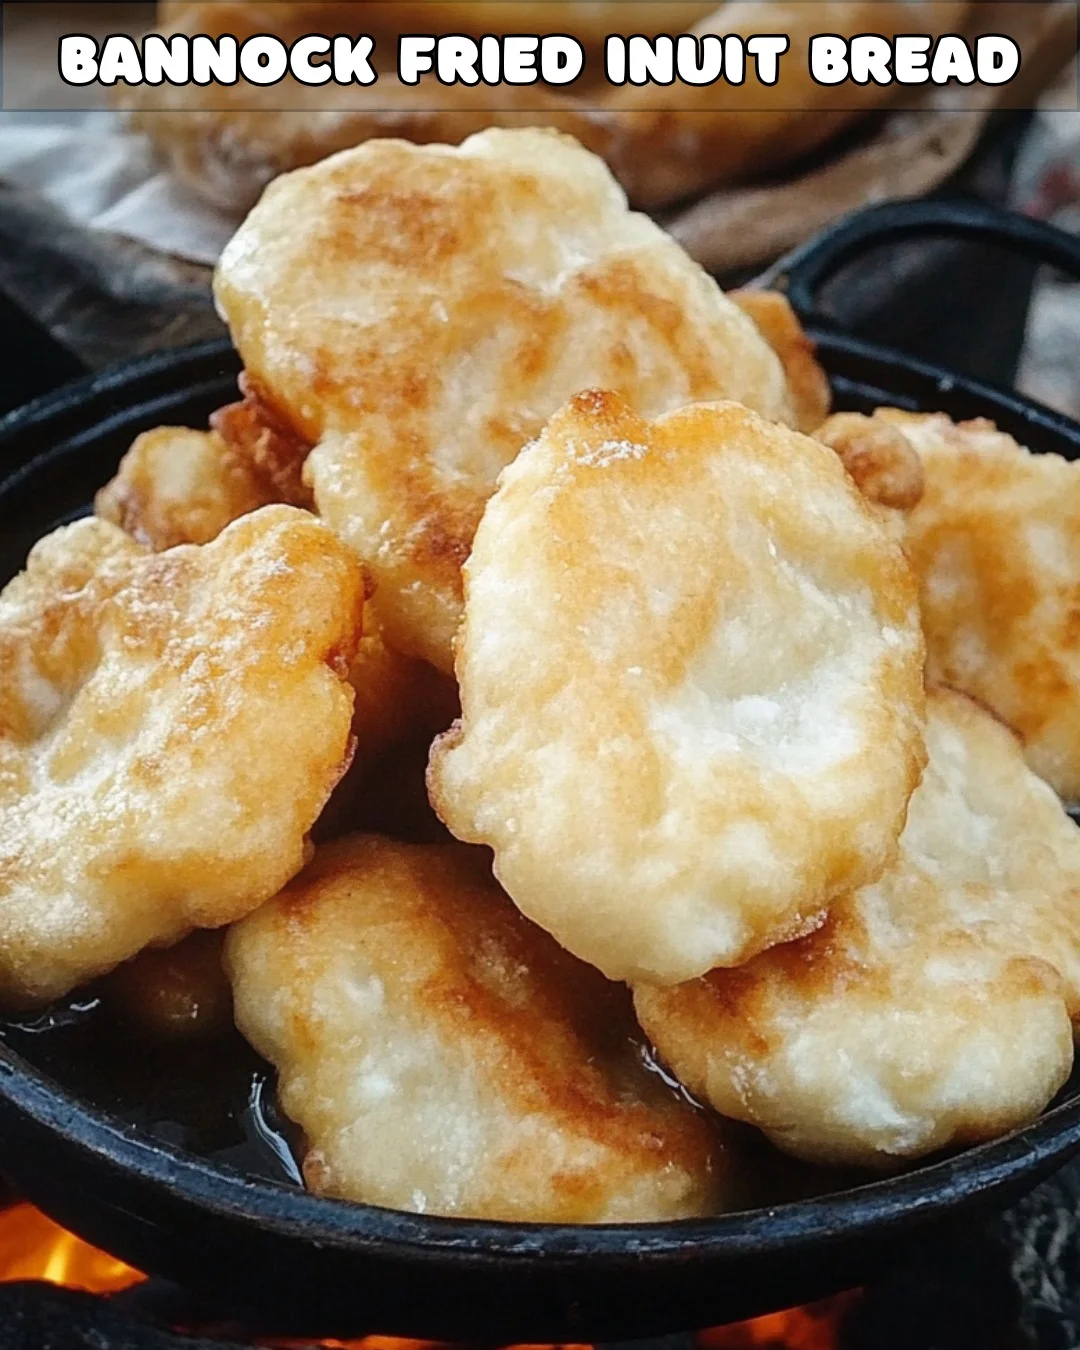
There’s something magical about connecting with history through food. Traditional Fried Bannock invites you to explore a deep cultural heritage while savoring its warm, comforting flavors. This timeless dish, rooted in Inuit traditions, has been passed down through generations, adapting beautifully to modern kitchens without losing its essence. As you prepare and enjoy bannock, you’re not just making a meal; you’re partaking in a cultural legacy.
The Heartwarming History of Bannock
Bannock has a fascinating story. Originally introduced by Scottish settlers, it was embraced and transformed by the Inuit and other Indigenous communities in Canada. They incorporated locally sourced ingredients and techniques to create a dish that’s uniquely their own. Over time, bannock became a staple food, providing nourishment during harsh winters and celebrations alike.
Why Traditional Fried Bannock Holds a Special Place
- Cultural Significance: A dish that embodies Inuit heritage and resilience.
- Simplicity at Its Best: Minimal ingredients create maximum flavor.
- Versatility: Pair it with sweet or savory toppings, making it a crowd-pleaser.
- Connection to Nature: Reflects the resourcefulness of using available ingredients.
Ingredients for Traditional Fried Bannock
| Ingredient | Quantity |
|---|---|
| All-purpose flour | 2 cups |
| Baking powder | 1 tablespoon |
| Salt | ½ teaspoon |
| Butter or lard | 2 tablespoons |
| Water or milk | ¾ cup |
| Vegetable oil (for frying) | As needed |
Step-by-Step Guide to Making Traditional Fried Bannock
1. Gather Your Ingredients
Start by ensuring you have everything ready. Having your ingredients measured and prepared makes the process smooth and enjoyable.
2. Mix the Dry Ingredients
In a large mixing bowl, combine the flour, baking powder, and salt. Stir them thoroughly to evenly distribute the baking powder and salt. This ensures a uniform rise in the dough.
3. Incorporate the Fat
Using your fingers or a pastry cutter, cut the butter or lard into the flour mixture. Continue until the mixture has a crumbly texture resembling coarse sand. This step adds a rich, flaky quality to the bannock.
4. Add Liquid to Form a Dough
Gradually pour in water or milk, stirring gently with a wooden spoon or your hands. Mix until the dough just comes together. Avoid overworking the dough, as it can make the bannock dense.
5. Shape the Bannock
Decide on your preferred shape:
- For individual servings, divide the dough into small rounds.
- For a communal experience, flatten the dough into one large round about ½ inch thick.
6. Heat the Oil
Pour approximately ¼ inch of vegetable oil into a large skillet. Heat the oil over medium heat until it sizzles when you drop in a small piece of dough. Proper oil temperature is crucial for achieving a crispy exterior.
7. Fry the Dough
Carefully place the dough rounds into the hot oil. Fry each side for 2 to 3 minutes or until golden brown. Use tongs to flip the bannock for even cooking.
8. Drain and Serve
Once fried, transfer the bannock to a plate lined with paper towels to remove excess oil. Serve hot with your favorite toppings.
Topping Ideas for Bannock
- Sweet Options: Jam, honey, or powdered sugar.
- Savory Pairings: Butter, smoked fish, or cheese.
- Traditional Touch: Serve alongside stews or soups.
Tips for Perfect Bannock
1. Keep the Dough Light
Handle the dough as little as possible to maintain its tender texture.
2. Test the Oil Temperature
A small drop of dough should sizzle immediately when placed in the oil. Too cool, and the bannock will absorb oil; too hot, and it will burn.
3. Experiment with Add-Ins
Incorporate dried fruit, spices, or herbs into the dough for unique flavor variations.
The Versatility of Bannock
- Breakfast: Pair with eggs and bacon.
- Snack: Enjoy it plain or with a drizzle of syrup.
- Side Dish: Complement hearty meals like stews or roasts.
Nutritional Information
| Nutrient | Per Serving (1 Piece) |
|---|---|
| Calories | 200 |
| Protein | 4g |
| Fat | 10g |
| Carbohydrates | 25g |
| Sodium | 250mg |
FAQs About Traditional Fried Bannock
1. Can I bake bannock instead of frying it?
Yes! Shape the dough and bake it on a greased baking sheet at 375°F (190°C) for 20–25 minutes or until golden brown.
2. What type of fat is best for bannock?
Butter adds a rich flavor, while lard offers a traditional touch and flakier texture.
3. Can I make bannock gluten-free?
Absolutely! Substitute all-purpose flour with a gluten-free flour blend. Adjust the liquid quantity as needed.
4. How long does bannock stay fresh?
Bannock is best eaten fresh. However, you can store leftovers in an airtight container for up to 2 days and reheat before serving.
5. Can I freeze bannock?
Yes, cooked bannock freezes well. Let it cool completely, wrap it tightly, and store it in the freezer for up to a month.
6. What’s the difference between bannock and fry bread?
While similar, fry bread often includes yeast, making it puffier, whereas bannock uses baking powder for a denser texture.
Preserving Tradition with Every Bite
Making Traditional Fried Bannock is more than just cooking; it’s a way to honor the ingenuity and spirit of the Inuit people. As you master this recipe, you’re helping keep their heritage alive.
Call to Action
Ready to experience a taste of history? Gather your ingredients and try making Traditional Fried Bannock today. Share it with loved ones, explore its versatility, and enjoy the warmth of a dish steeped in tradition.


