
")

There’s something incredibly satisfying about biting into a warm, crispy tortilla wrap filled with flavorful minced meat and fresh vegetables. Whether you’re looking for a quick weeknight dinner, a fun party snack, or a hearty lunch option, Stuffed Tortilla Wraps with Minced Meat and Vegetables are the perfect solution.
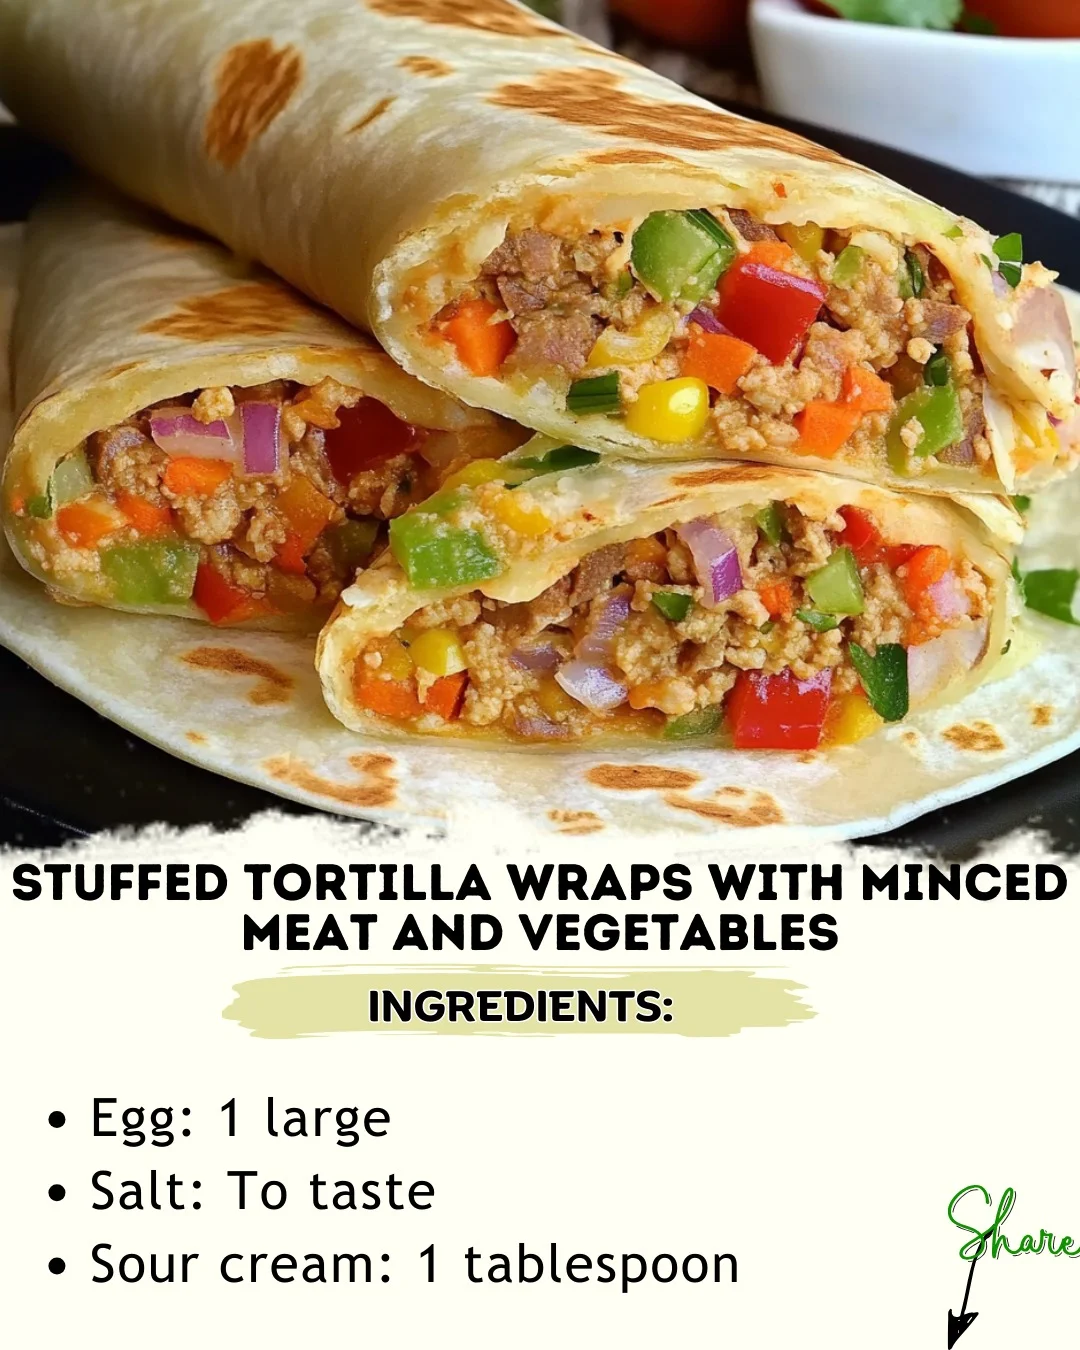
These wraps bring together the richness of seasoned minced meat, the earthy sweetness of vegetables, and the cheesy goodness of melted mozzarella, all wrapped in a crispy, golden tortilla. The best part? They are easy to make, customizable, and packed with flavor!
Let’s dive into everything you need to know to make the best stuffed tortilla wraps at home.
Why You’ll Love This Recipe
- Simple & Quick – Ready in under 30 minutes with easy-to-find ingredients.
- Rich in Flavor – A perfect blend of spices, juicy meat, and fresh veggies.
- Customizable – Swap ingredients based on your taste or dietary needs.
- Perfect for Meal Prep – Make ahead and store for a quick, delicious meal anytime.
- Kid-Friendly – A great way to sneak in veggies while keeping things tasty!
Ingredients for Stuffed Tortilla Wraps with Minced Meat and Vegetables
Here’s what you need to create these irresistible wraps:
For the Filling
| Ingredient | Quantity | Notes |
|---|---|---|
| Egg | 1 large | Helps bind ingredients |
| Salt | To taste | Enhances flavor |
| Sour cream | 1 tbsp (15 g) | Adds creaminess |
| Potatoes | 4-5 medium | Peeled and diced |
| Water | Enough to boil potatoes | Cooking base |
| Olive oil | 2 tbsp (30 ml) | For sautéing |
| Onion | 1 medium | Finely chopped |
| Garlic | 2 cloves | Minced for extra flavor |
| Minced meat | 400 g (14 oz) | Use beef, chicken, or turkey |
| Bell pepper | 1 medium | Diced for sweetness |
| Frozen green peas | 100 g (3.5 oz) | Adds color and texture |
| Tomato | 1 medium | Diced for freshness |
| Black pepper | To taste | Enhances taste |
| Chili pepper | To taste | Adds a spicy kick |
For the Wraps
| Ingredient | Quantity | Notes |
|---|---|---|
| Tortillas | 8 (12-15 cm) | Use flour or corn tortillas |
| Tomato sauce | ½ cup (120 ml) | Adds moisture and flavor |
| Mozzarella cheese | 50 g (½ cup) | Shredded for melting |
| Vegetable oil | As needed | For frying |
Step-by-Step Instructions
1. Prepare the Potatoes
- Bring a pot of water to a boil, add diced potatoes, and cook until soft (about 10-12 minutes).
- Drain, mash lightly, and set aside.
2. Cook the Meat and Vegetables
- Heat olive oil in a skillet over medium heat.
- Add chopped onion and garlic, and sauté until golden (about 2-3 minutes).
- Stir in minced meat, season with salt, black pepper, and chili pepper, and cook until browned (5-7 minutes).
- Add bell pepper, peas, and tomato, and cook for another 5 minutes.
3. Combine the Filling
- Mix the cooked meat with mashed potatoes, sour cream, and a beaten egg.
- Stir well until everything is evenly combined.
4. Assemble the Tortilla Wraps
- Spread 1-2 tablespoons of the filling onto each tortilla.
- Roll them tightly, securing the edges.
5. Fry the Wraps
- Heat vegetable oil in a pan over medium heat.
- Place the wraps seam-side down and fry until golden and crispy, flipping once (2-3 minutes per side).
6. Add Tomato Sauce & Cheese
- Transfer fried wraps to a baking tray.
- Spoon tomato sauce over each wrap and sprinkle mozzarella cheese on top.
- Broil in the oven at 200°C (400°F) for 5 minutes, until cheese is melted.
7. Serve & Enjoy
- Remove from the oven, let cool for 2 minutes, and serve warm.
- Pair with a side of sour cream, guacamole, or fresh salsa.
Tips for the Best Stuffed Tortilla Wraps
Choosing the Right Tortillas
- Flour tortillas work best for a soft and pliable wrap.
- Corn tortillas provide a traditional, slightly chewy texture.
Making the Filling Extra Flavorful
- Use ground beef for a richer taste or turkey for a leaner option.
- Add cumin, paprika, or smoked paprika for a smoky depth.
Crispy or Soft Wraps?
- For a crispy wrap, pan-fry before baking.
- For a softer wrap, skip frying and bake directly with sauce and cheese.
Make-Ahead and Storage
- Refrigerate: Store leftovers in an airtight container for up to 3 days.
- Freeze: Wrap individually in foil and freeze for up to 2 months.
- Reheat: Warm in the oven at 180°C (350°F) for 10 minutes.
Variations & Customizations
Low-Carb & Keto-Friendly
- Swap tortillas for lettuce wraps or low-carb wraps.
Vegan & Vegetarian Option
- Replace minced meat with lentils, mushrooms, or tofu.
- Use dairy-free cheese and coconut yogurt instead of mozzarella and sour cream.
Spicy & Extra Flavorful
- Add jalapeños, hot sauce, or chipotle powder for extra heat.
Cheesy & Indulgent
- Mix cheddar or Monterey Jack cheese into the filling for extra creaminess.
Nutritional Information (Per Serving – 1 Wrap)
| Nutrient | Amount |
|---|---|
| Calories | ~280 |
| Protein | 15g |
| Carbohydrates | 30g |
| Fat | 12g |
| Fiber | 3g |
| Sodium | 400mg |
Nutritional values may vary based on ingredients used.

Frequently Asked Questions (FAQ)
1. Can I make stuffed tortilla wraps in advance?
Yes! Assemble and store them in the fridge, then fry or bake when ready.
2. What’s the best way to prevent tortillas from breaking?
Warm tortillas slightly before rolling to make them more flexible.
3. Can I use different types of cheese?
Absolutely! Try cheddar, feta, or gouda for a unique twist.
4. Can I bake these wraps instead of frying?
Yes! Brush them lightly with oil and bake at 375°F (190°C) for 15 minutes.
5. What dipping sauces go well with these wraps?
Sour cream, salsa, guacamole, or garlic yogurt sauce pair wonderfully.

6. How can I make them extra crispy?
Fry in hot oil and drain on a paper towel before baking.
Final Thoughts
Making Stuffed Tortilla Wraps with Minced Meat and Vegetables is a fantastic way to enjoy a flavor-packed, satisfying meal. Whether you love them crispy or soft, mild or spicy, cheesy or veggie-packed, these wraps are endlessly versatile.