
")

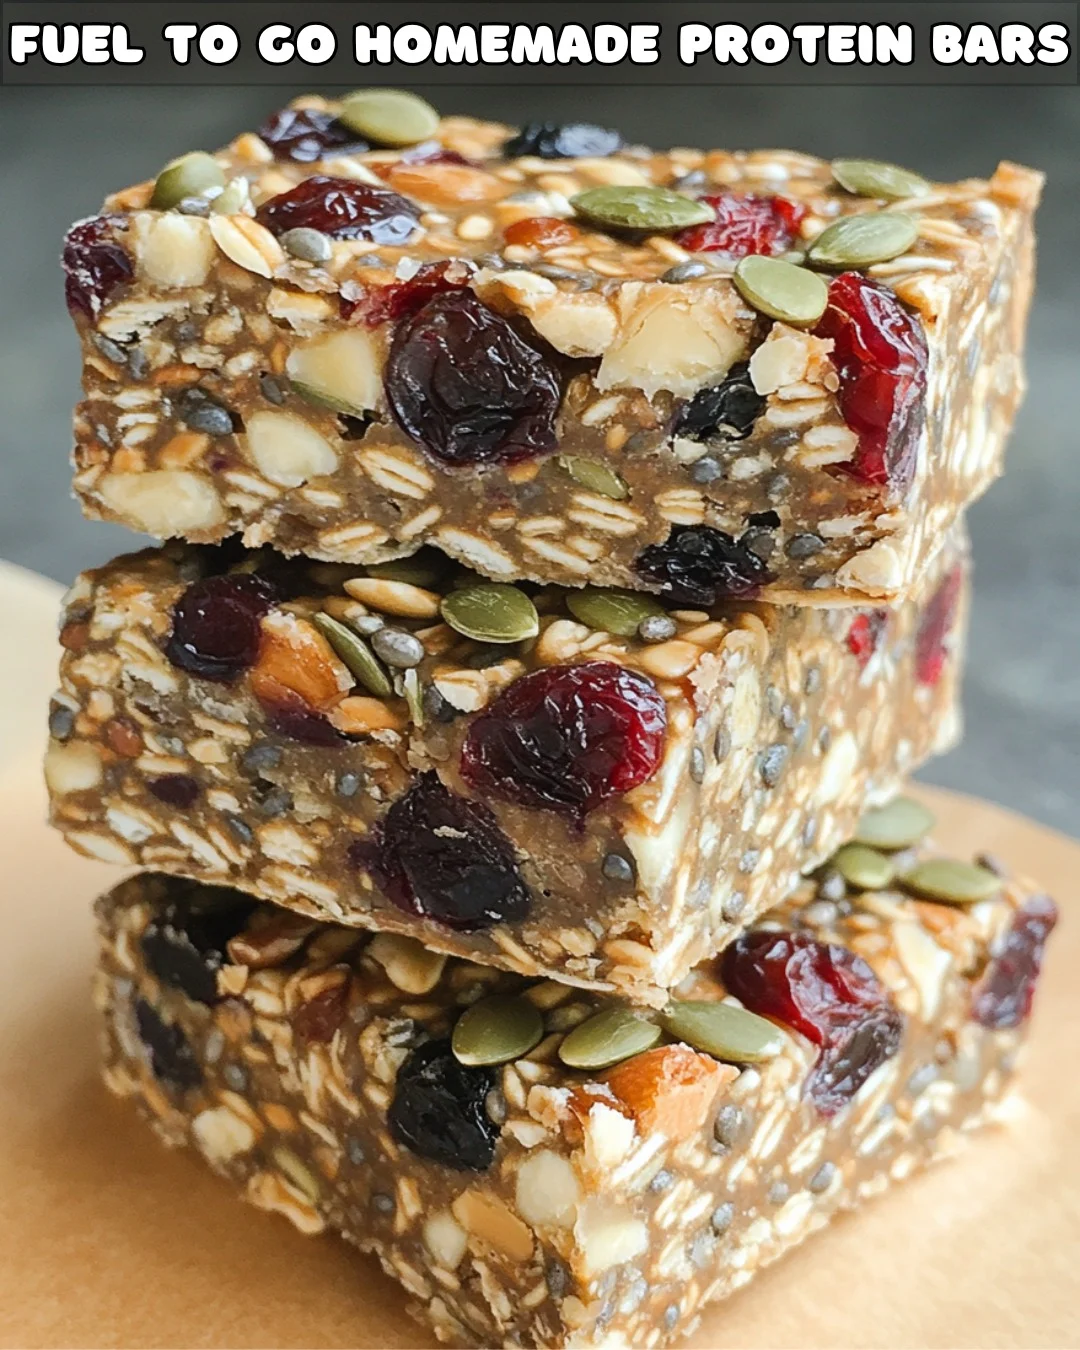
Imagine reaching for a snack that’s not only packed with energy but also made with wholesome ingredients you can feel good about. These Power-Up Protein Bars: A Homemade Energy Boost are everything you’ve been searching for—chewy, nutty, sweet, and packed with seeds, dried fruits, and puffed rice for the perfect crunch. Whether you’re fueling up for a workout, need a quick pick-me-up, or want a healthier alternative to store-bought bars, this recipe has you covered.
By making your own protein bars, you’re not only saving money but also controlling exactly what goes into your snacks. No artificial flavors, no preservatives—just natural ingredients that deliver nutrients and energy when you need them most. Let’s dive into why these protein bars are the ultimate homemade snack and how you can easily whip up a batch at home.
Why You’ll Love Power-Up Protein Bars
Here’s why these protein bars will become your go-to energy booster:
- Packed with Nutrients: Loaded with dried fruits, seeds, and puffed rice, these bars provide fiber, healthy fats, and protein to keep you energized and satisfied.
- Customizable: You can easily swap ingredients to suit your taste preferences or dietary needs.
- Perfect for On-the-Go: These bars are portable and mess-free, making them ideal for work, school, or outdoor activities.
- Cost-Effective: Homemade protein bars are much more budget-friendly than store-bought ones.
- No Preservatives: You’ll only find natural ingredients here, making these bars a healthier choice.
- Fun to Make: They’re easy to prepare and a great recipe to try with kids or friends.
Ingredients for Power-Up Protein Bars
| Ingredient | Amount | Purpose |
|---|---|---|
| Puffed rice cereal | 1 cup | Adds crunch and lightness to the bars |
| Dried blueberries | ½ cup | Adds natural sweetness and antioxidants |
| Dried cranberries | ½ cup | Adds tangy sweetness and chewy texture |
| Raisins | ½ cup | Provides natural sweetness and a soft texture |
| Unsweetened shredded coconut | ½ cup | Adds flavor and texture |
| Hemp seeds | ¼ cup | Adds protein, healthy fats, and crunch |
| Chia seeds | ¼ cup | Adds fiber, omega-3s, and a nutty texture |
| Sunflower seeds | ¼ cup | Provides crunch and essential nutrients |
| Pumpkin seeds | ¼ cup | Adds a nutty flavor and protein |
| Natural peanut butter | ½ cup | Acts as a binder and adds creaminess |
| Honey | ¼ cup | Acts as a natural sweetener and binder |
| Brown sugar | ¼ cup | Enhances sweetness and texture |
| Light corn syrup | ¼ cup | Helps bind the bars and prevents crumbling |
| Butter | 4 teaspoons | Adds moisture and richness |
How to Make Power-Up Protein Bars
Step 1: Prepare the Dry Mixture
- In a large mixing bowl, combine the puffed rice cereal, dried blueberries, dried cranberries, raisins, shredded coconut, hemp seeds, chia seeds, sunflower seeds, and pumpkin seeds.
- Stir well to ensure all the ingredients are evenly distributed.
Step 2: Make the Binding Syrup
- In a small skillet over medium heat, melt the butter.
- Once the butter is fully melted, add the honey, brown sugar, and light corn syrup.
- Stir continuously until the sugar dissolves completely and the mixture starts to bubble. Let it simmer for about 2-3 minutes while stirring occasionally to prevent burning.
Step 3: Mix with Peanut Butter
- Remove the skillet from heat and immediately stir in the natural peanut butter.
- Mix until the peanut butter is fully incorporated into the syrup, forming a smooth, sticky mixture.
Step 4: Combine Wet and Dry Ingredients
- Pour the peanut butter and syrup mixture over the dry ingredients in the mixing bowl.
- Using a spatula or wooden spoon, carefully fold the ingredients together until everything is evenly coated.
- Make sure all the seeds, fruits, and cereal are well mixed with the sticky syrup.
Step 5: Shape the Bars
- Line a 9×9-inch baking dish with parchment paper or lightly grease it with butter.
- Transfer the mixture into the dish and press it down firmly with the back of a spoon or your hands to create an even, compact layer.
- Smooth out the top to ensure the bars hold together well once set.
Step 6: Cool and Set
- Let the mixture cool to room temperature.
- Place the baking dish in the refrigerator for at least 1 hour to allow the bars to firm up completely.
Step 7: Cut into Bars
- Once the mixture is fully set, use the parchment paper overhang to lift it out of the dish.
- Place it on a cutting board and use a sharp knife to slice it into bars or squares of your preferred size.
Step 8: Store and Enjoy
- Store the bars in an airtight container in the refrigerator for up to seven days.
- For longer storage, place them in an airtight container or freezer bag and freeze for up to a month. Simply thaw them in the refrigerator or at room temperature when ready to eat.
Why These Protein Bars Are a Healthy Choice
These Power-Up Protein Bars are more than just a snack—they’re a nutritious energy booster. Here’s why:
- Rich in Fiber: The chia seeds, raisins, and dried fruits provide fiber to support digestion and keep you feeling full longer.
- Packed with Protein: Pumpkin seeds, sunflower seeds, and hemp seeds are excellent sources of plant-based protein, essential for muscle repair and growth.
- Natural Sweeteners: Honey and dried fruits offer natural sweetness without the need for processed sugars.
- Healthy Fats: Seeds and peanut butter contribute healthy fats that keep your heart and brain functioning at their best.
- Balanced Nutrition: With a mix of carbohydrates, fats, and protein, these bars provide sustained energy, making them perfect for active lifestyles.
Nutritional Information
Here’s an approximate breakdown of the nutritional content per bar (based on 12 servings):

- Calories: 180
- Protein: 5g
- Carbohydrates: 18g
- Fat: 9g
- Fiber: 3g
- Sugar: 12g (natural from honey and dried fruits)
These bars offer a great balance of macronutrients, making them a smart snack option for busy days.
Tips for Perfect Protein Bars
1. Press the Mixture Firmly
- Compressing the mixture tightly ensures the bars hold their shape and don’t crumble when cut.
2. Experiment with Ingredients
- Swap dried blueberries for dried cherries, cranberries for apricots, or peanut butter for almond butter to create new flavors.
3. Skip the Corn Syrup
- If you prefer, you can replace corn syrup with maple syrup or agave nectar for a more natural option.
4. Use a Sharp Knife for Cutting
- A sharp knife will give you clean edges when slicing the bars. Wipe the blade between cuts for the best results.
5. Freeze for Long-Term Storage
- Wrap individual bars in parchment paper and store them in a freezer-safe bag for grab-and-go convenience.
FAQs About Power-Up Protein Bars
1. Can I make these bars nut-free?
Yes! Substitute peanut butter with sunflower seed butter, and replace the nuts with more seeds like flaxseeds or sesame seeds.
2. Are these bars gluten-free?
Yes, as long as you use certified gluten-free puffed rice cereal and check the labels of your other ingredients.
3. Can I bake these bars?
These bars don’t require baking, but you can bake them at 350°F (175°C) for 10 minutes if you prefer a firmer texture.
4. Can I use other nut butters?
Absolutely! Almond butter, cashew butter, or even tahini works well in this recipe.

5. How long do these bars last?
Stored in the refrigerator, they’ll stay fresh for up to a week. In the freezer, they’ll last up to a month.
6. Are these bars suitable for kids?
Yes! Kids love their sweet and crunchy texture, and they’re packed with nutrients to keep little ones energized.
Final Thoughts: Try Power-Up Protein Bars Today
These Power-Up Protein Bars: A Homemade Energy Boost are the perfect combination of flavor, nutrition, and convenience. Whether you’re fueling up for a workout, packing snacks for the day, or craving a sweet but healthy treat, these bars have you covered.
So grab your ingredients and get started! You’ll love having these homemade energy bars on hand to power through your busiest days. Enjoy every chewy, nutty, and naturally sweet bite!