

")

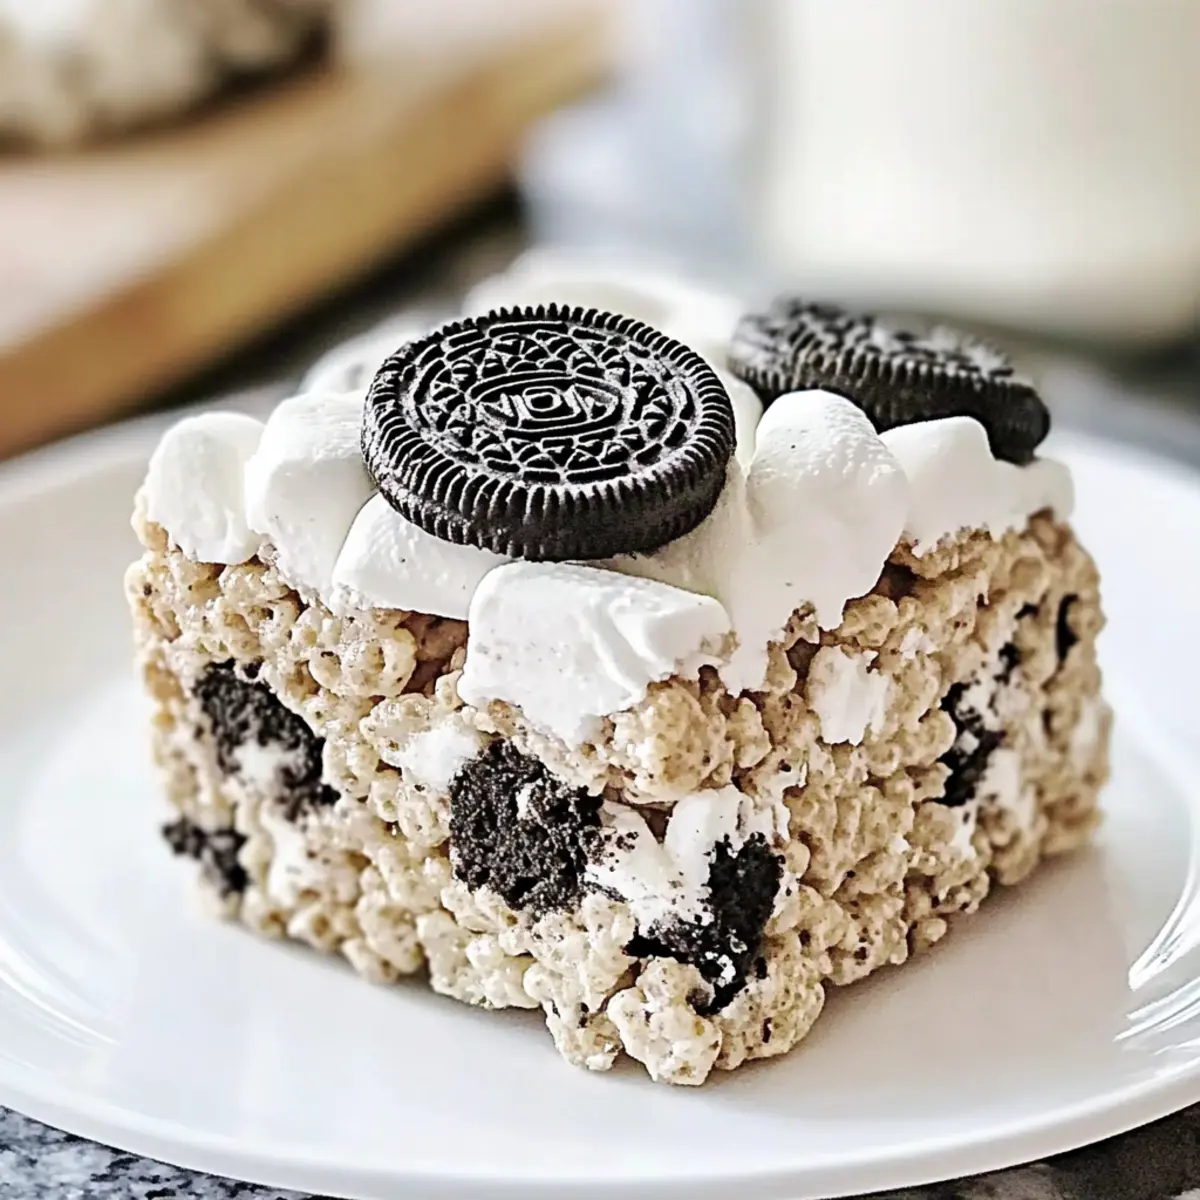
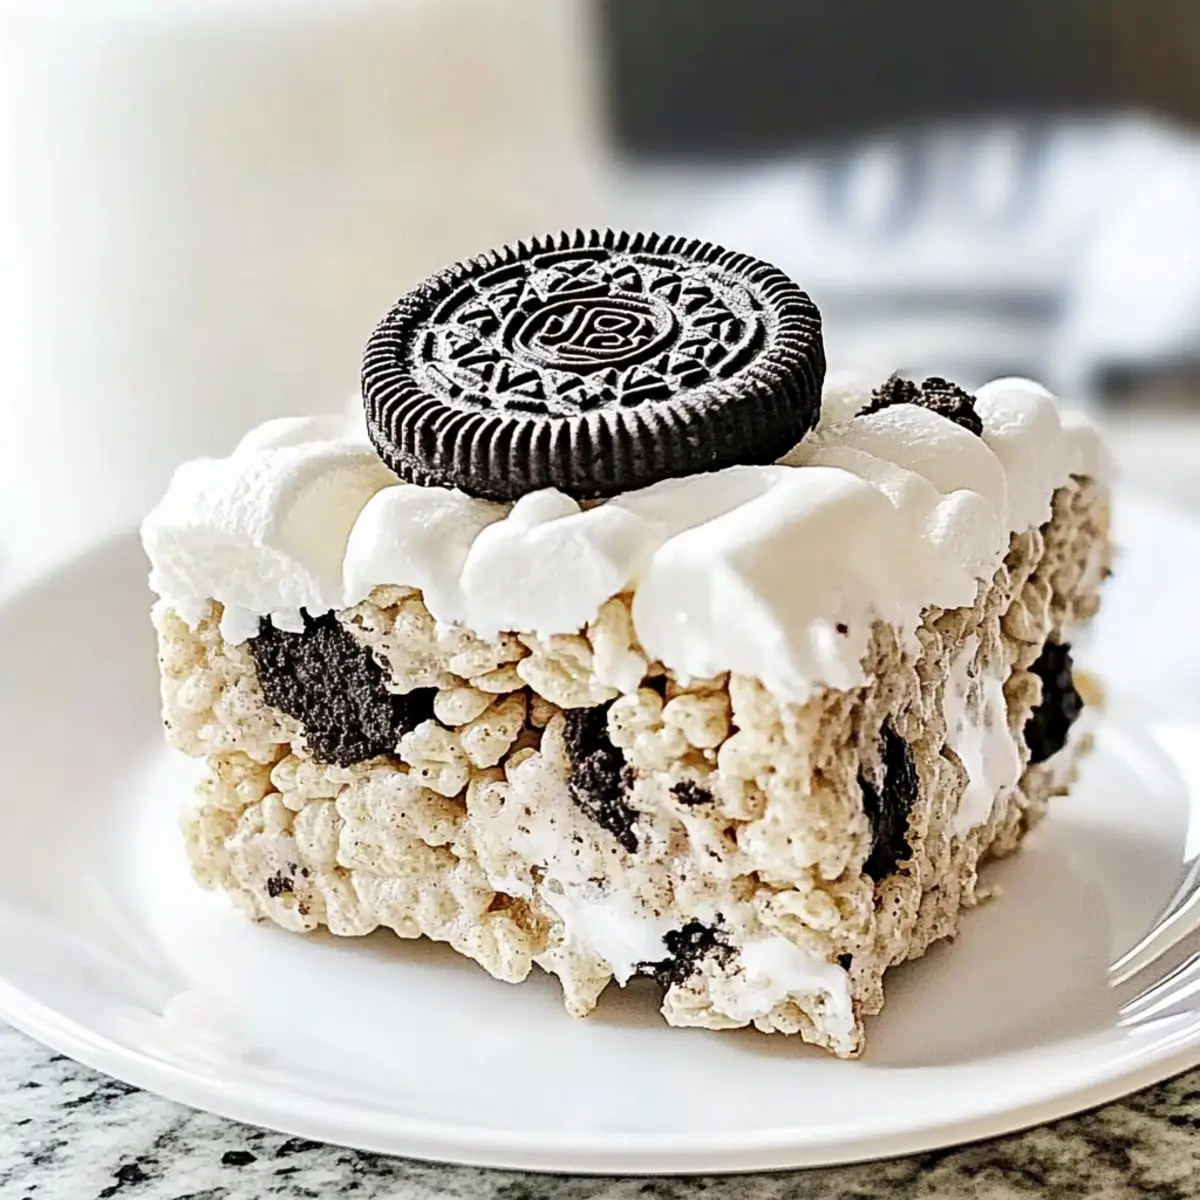
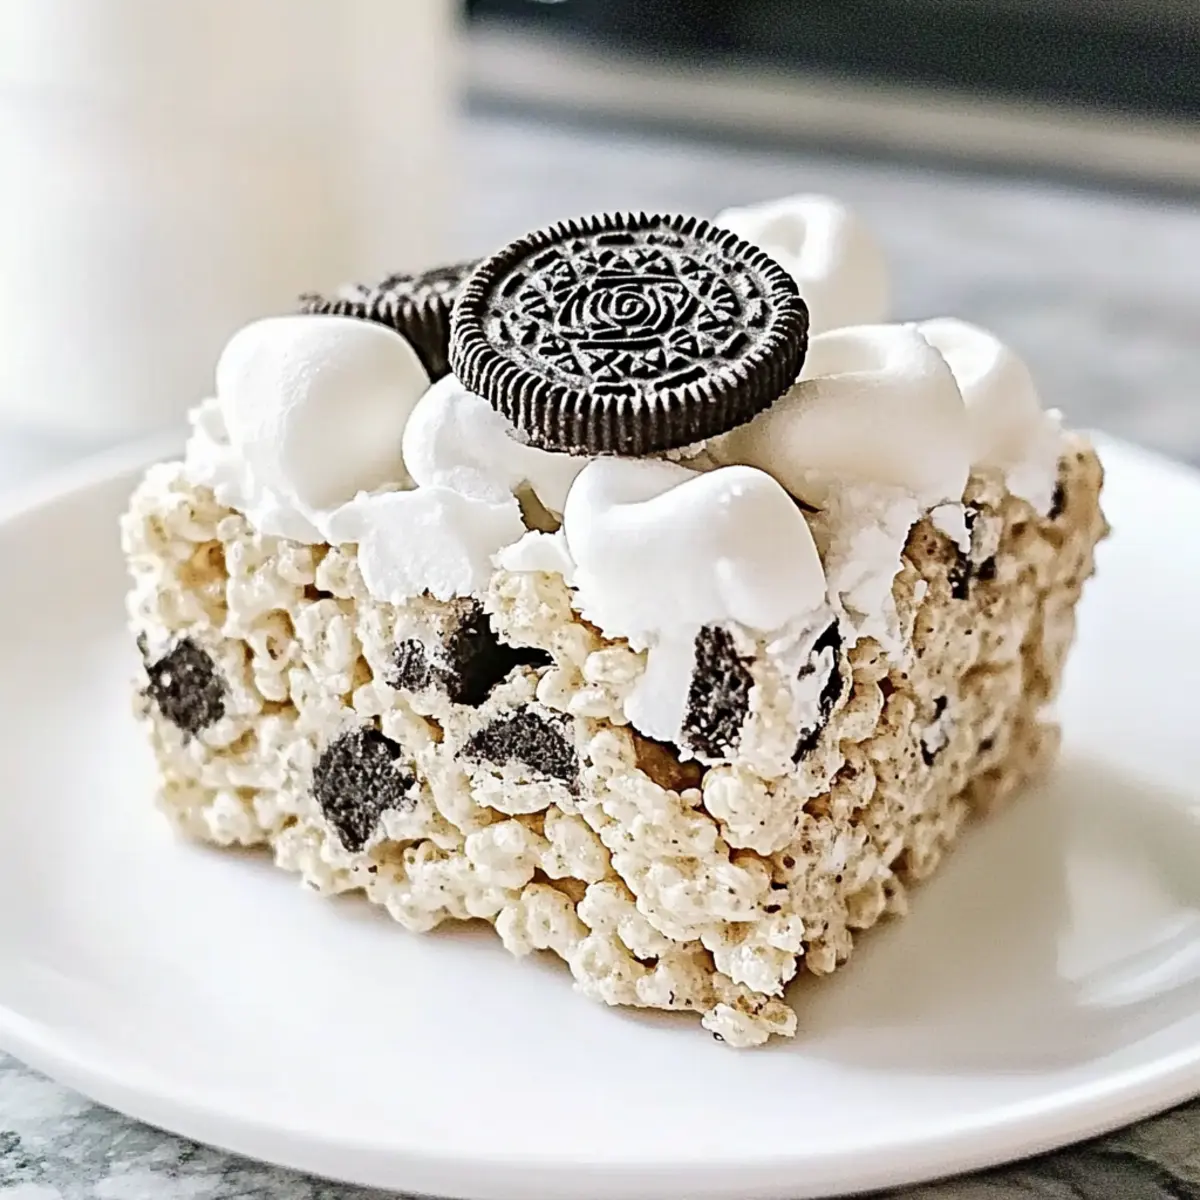
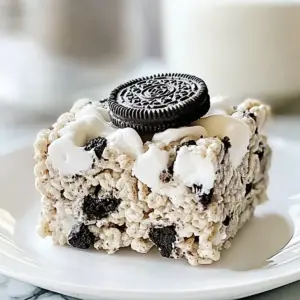
There’s a captivating charm to no-bake desserts—especially when they come together in just 10 minutes! Our Oreo Krispies are the perfect blend of crunchy, gooey goodness that promises to delight your taste buds. This easy recipe not only satisfies your sweet cravings but also doubles as a crowd-pleaser at family gatherings or parties. With the ability to customize by adding your favorite mix-ins or swapping out ingredients, it’s the kind of treat that invites creativity and makes cooking feel like a fun adventure. Who knew that a handful of simple ingredients could lead to such deliciousness? Ready to discover how to make these irresistible treats that everyone will love? Let’s dive in!
Why Are Oreo Krispies So Irresistible?
Quick Preparation: You can whip up these delicious Oreo Krispies in just 10 minutes! Perfect for those last-minute dessert cravings.
No-Bake Delight: Skip the oven and save time; these treats come together without any baking hassle!
Customizable Fun: From adding nuts to incorporating peanut butter, making them uniquely yours is easy with various mix-in options.

Kid-Friendly: These treats are ideal for families. Kids love them, and they can even help with the easy preparation!
Crowd-Pleasing Choice: Whether at a birthday party or a casual get-together, these treats are a guaranteed hit with everyone.
Gluten-Free Options: Customize your recipe to cater to dietary needs easily, ensuring everyone can indulge in these tasty bites.
For more delightful ideas, check out our easy no-bake desserts.
Oreo Krispies Ingredients
• Get ready to create this delectable treat with just a few simple items!

For the Base
- Butter – Adds richness and binds the ingredients together; use salted for an extra flavor boost.
- Mini Marshmallows – Serve as the main binder, offering that sweet, gooey texture; halved regular marshmallows can also work.
- Krispie Cereal – Provides a light, crispy texture that keeps every bite delightful; feel free to substitute with other puffed cereals.
- Oreo Cookies – For that signature taste and crunch; whole cookies are best for maximum flavor.
- Salt – Enhances the overall flavor without overpowering the sweetness; omit if using salted butter.
Optional Mix-Ins
- Chocolate Sandwich Cookies – Swap Oreos with fudge creams for a fun twist!
- Nuts (e.g., pecans) – Add ½ cup for an extra layer of crunch and flavor.
- Peanut Butter – Mix in ½ cup for a rich, creamy texture that pairs perfectly with marshmallows.
- Freeze-Dried Fruits – Add for a tangy contrast to the sweetness, giving your Krispies a burst of fruitiness.
These Oreo Krispies are not just a treat; they’re an invitation to be creative in the kitchen!
Step‑by‑Step Instructions for Oreo Krispies
Step 1: Prepare Ingredients
In a large mixing bowl, combine 6 cups of Krispie cereal with 1 cup of crushed Oreo cookies and 1 cup of mini marshmallows. This blend forms the crispy, crunchy base of your Oreo Krispies. Set aside while you move on to melting your marshmallow mixture, ensuring all ingredients are ready before you start cooking.
Step 2: Melt Butter and Marshmallows
In a medium saucepan over low heat, melt 4 tablespoons of butter. Once melted, add 8 cups of mini marshmallows and a pinch of salt, stirring constantly for about 3-4 minutes. Keep stirring until the mixture is smooth and glossy, with no lumps visible. This gooey mixture is crucial for binding your Oreo Krispies together beautifully.
Step 3: Combine Mixtures
Once the marshmallow mixture is smooth, pour it over the bowl of Krispie cereal, crushed Oreos, and mini marshmallows. Gently fold the mixture together using a spatula, making sure every piece is evenly coated without crushing the crispy cereal. The visual cue is a lovely blending of colors and textures, hinting at deliciousness to come.
Step 4: Transfer to Pan
Prepare a greased 9-inch square pan by lightly coating it with cooking spray or butter to prevent sticking. Pour the Oreo Krispies mixture into the pan, using your hands or a spatula to press it down evenly. Aim for a flat surface, smoothing over the top to ensure even slicing when cooled.
Step 5: Cool and Cut
Allow the Oreo Krispies to sit at room temperature for about 30 minutes. This cooling time is essential for the mixture to set properly, ensuring that your treats hold their shape. After they have cooled and firmed up, you can cut them into squares with a sharp knife for perfect servings.
Oreo Krispies Variations & Substitutions
Feel free to personalize this delightful treat with various ingredients for a uniquely delicious experience!
-
Gluten-Free: Use gluten-free crispy rice cereal and gluten-free Oreos to ensure all can enjoy.
-
Nut-Free: To keep it nut-free, simply omit any nut additions and consider substituting with seeds like sunflower or pumpkin.
-
Dairy-Free: Swap butter with coconut oil or a dairy-free butter alternative to cater to dairy sensitivities.
-
Chocolate Boost: Mix in ½ cup of mini chocolate chips or drizzle melted chocolate on top for a sweet, indulgent layer.
-
Fruit Fusion: Add ½ cup of chopped freeze-dried strawberries or raspberries for a refreshing twist that brightens every bite.
-
Marshmallow Twist: For a gooey, chewy experience, use flavored marshmallows like strawberry or birthday cake to enhance the flavor profile.
-
Crunchy Granola: Substitute half of the Krispie cereal with your favorite granola for added texture and flavor.
-
Spicy Kick: Fold in a pinch of cayenne pepper or a drizzle of spicy caramel for a surprising heat that perfectly contrasts the sweetness.
Explore more ways to enjoy these treats by checking out our guide on easy no-bake desserts.
Tips for the Best Oreo Krispies
-
Gentle Mixing: Be sure to fold the ingredients carefully to keep the Krispie cereal crispy. Overmixing can lead to a soggy texture.
-
Cool Time Matters: Allowing the mixture to cool for at least 30 minutes is key for setting properly, which makes cutting easier without crumbling.
-
Storage Savvy: Store your Oreo Krispies in an airtight container at room temperature for up to a week. Refrigeration can make them harder, so keep them cool and dry!
-
Ingredient Quality: Using fresh marshmallows and good quality Oreo cookies greatly enhances the flavor and texture of your treats.
-
Mix-in Caution: When adding nuts or other mix-ins, be careful not to overwhelm the base ingredients; balance is key to maintaining that signature Oreo Krispies flavor.
Make Ahead Options
Preparing these Oreo Krispies ahead of time is a game-changer for busy home cooks! You can assemble the dry ingredients—6 cups of Krispie cereal, 1 cup of crushed Oreo cookies, and 1 cup of mini marshmallows—up to 24 hours in advance. Simply store the mixture in an airtight container to keep everything fresh. The marshmallow mixture can also be made and refrigerated for up to 3 days; just reheat it gently on the stove before combining. When you’re ready to enjoy your treats, pour the marshmallow mixture over the crispy base, press it into the greased pan, and allow it to cool for about 30 minutes. This will save you precious time while ensuring that your Oreo Krispies are just as delicious and irresistible as ever!
What to Serve With Oreo Krispies
Indulging in a batch of these delightful treats opens the door for endless pairing possibilities to create a memorable dessert experience.
-
Vanilla Ice Cream: A classic companion that adds a creamy balance to the crunchy texture of the Oreo Krispies.
-
Fresh Strawberries: The natural sweetness and tartness of strawberries beautifully contrast the rich, chocolaty flavors. Serve them alongside for a refreshing touch.
-
Chocolate Sauce Drizzle: Elevate the treats with a simple drizzle of warm chocolate sauce, adding extra richness and indulgence.
-
Whipped Cream: A dollop of fluffy whipped cream adds an airy texture and enhances the sweetness of the Oreo Krispies.
-
Coffee or Espresso: Pairing with a freshly brewed cup of coffee offers a delicious contrast; the bitterness balances the sweetness perfectly.
-
Milkshakes: Blend up an Oreo milkshake for a true chocolate lover’s delight, pairing the same flavors in a fun, indulgent form.
-
Fruit Salad: A medley of seasonal fruits brightens the dessert table, providing a light and refreshing counterpoint to the richness of the Krispies.
-
Peanut Butter Dip: A creamy peanut butter dip provides a savory twist, encouraging a delightful combination of flavors with a nutty twist.
-
Brownie Bites: For chocolate enthusiasts, serving mini brownie bites alongside the Krispies creates a double chocolate experience that’s simply irresistible.
Each of these options not only enhances the delight of your Oreo Krispies but also allows for personalized touches at any gathering!
How to Store and Freeze Oreo Krispies
Room Temperature: Keep your Oreo Krispies in an airtight container at room temperature for up to a week to maintain their delightful texture.
Fridge: Refrigeration is possible but may make the treats harder; if preferred, store in a container for up to 10 days.
Freezer: For longer storage, freeze in a single layer on parchment paper, then transfer to an airtight freezer bag for up to 3 months.
Reheating: If frozen, let your Oreo Krispies thaw in the fridge overnight for a soft texture, or enjoy straight from the freezer for a crunchy treat!
Oreo Krispies Recipe FAQs
What kind of Oreos should I use for the best flavor in Oreo Krispies?
For the most delicious results, I recommend using whole Oreo cookies as they provide the iconic chocolate flavor and the perfect crunch. You can experiment with flavored Oreos, such as mint or peanut butter, for a unique twist!
How long can I store my Oreo Krispies, and what’s the best way?
Your Oreo Krispies can be stored in an airtight container at room temperature for up to a week. To keep them soft and chewy, avoid refrigeration as it may make them hard. Instead, store them in a cool, dry place.
Can I freeze Oreo Krispies for later enjoyment?
Absolutely! To freeze your Oreo Krispies, layer them in a single layer on parchment paper in a baking dish, then place them in the freezer until solid. Once they’re firm, transfer them to an airtight freezer bag. They can last for up to 3 months frozen. Thaw them in the fridge overnight before enjoying, or dive into them straight from the freezer for a crunchy treat!
What can I do if my marshmallow mixture is too sticky or lumpy?
If your marshmallow mixture becomes too sticky or lumpy, try returning it to low heat while stirring gently until it melts back to a smooth consistency. Additionally, ensure that you’re using fresh marshmallows, as stale ones can lead to a clumpy mix.
Are Oreo Krispies safe for kids with allergies?
Oreo Krispies can be tailored to accommodate various allergies. For gluten sensitivities, look for certified gluten-free Oreos and substitute any other ingredients as needed. Always check labels for potential allergens to ensure safe enjoyment for everyone. If making for a child with severe allergies, consider involving a pediatric allergist to confirm it’s suitable.
Can I make these without using marshmallows?
While marshmallows are essential to achieving the signature chewy texture, you can use a homemade marshmallow fluff alternative made from peanut butter and honey or agave syrup as a substitution. Simply blend equal parts of peanut butter and your sweetener of choice until smooth, then mix in with the cereal and Oreos. Keep in mind that this will alter the flavor and texture slightly!
Oreo Krispies: No-Bake Treats Your Family Will Love
Equipment
- large mixing bowl
- medium saucepan
- 9-inch square pan
- spatula
Ingredients
For the Base
- 4 tablespoons Butter use salted for extra flavor
- 8 cups Mini Marshmallows halved regular marshmallows also work
- 6 cups Krispie Cereal feel free to substitute with other puffed cereals
- 1 cup Crushed Oreo Cookies whole cookies are best for maximum flavor
- 1 pinch Salt omit if using salted butter
Optional Mix-Ins
- 1/2 cup Nuts (e.g., pecans) for an extra layer of crunch
- 1/2 cup Peanut Butter for a rich, creamy texture
- to taste Freeze-Dried Fruits for a tangy contrast
Instructions
Step-by-Step Instructions for Oreo Krispies
- In a large mixing bowl, combine 6 cups of Krispie cereal with 1 cup of crushed Oreo cookies and 1 cup of mini marshmallows.
- In a medium saucepan over low heat, melt 4 tablespoons of butter. Add 8 cups of mini marshmallows and a pinch of salt, stirring for about 3-4 minutes until smooth.
- Pour the marshmallow mixture over the bowl of Krispie cereal, crushed Oreos, and mini marshmallows. Fold gently to coat evenly.
- Prepare a greased 9-inch square pan. Pour the mixture into the pan and press down evenly.
- Allow the mixture to cool at room temperature for about 30 minutes before cutting into squares.