
")

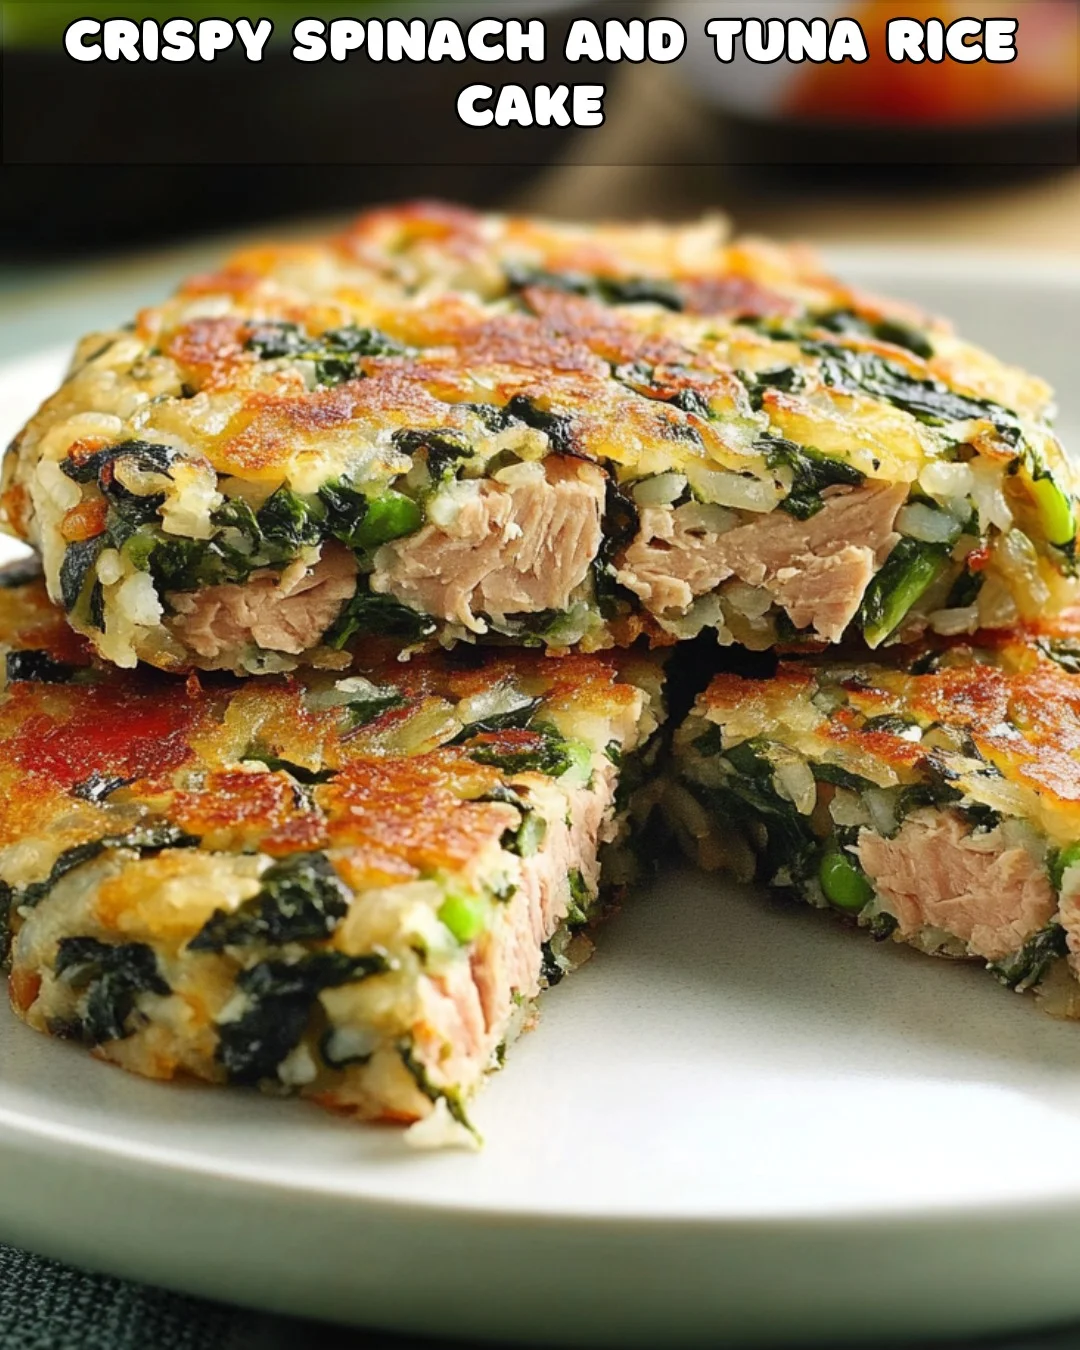
Imagine biting into a warm, crispy rice cake that’s bursting with flavor from fresh spinach, savory tuna, and aromatic garlic. These Crispy Spinach and Tuna Rice Cakes are the perfect fusion of crunch and softness, making them a versatile option for appetizers, snacks, or even a light meal. Packed with wholesome ingredients, they’re a nutritious and delicious way to transform simple pantry staples into a crowd-pleasing dish.
Why You’ll Love These Crispy Spinach and Tuna Rice Cakes
- Easy to Make: Quick and straightforward, these rice cakes come together in under 30 minutes.
- Healthy and Balanced: Protein-packed tuna and nutrient-rich spinach make them a guilt-free treat.
- Versatile: Perfect as a snack, appetizer, or light lunch.
- Customizable: Swap out ingredient de veggies in a dish that kids will love.
Ingredients for Crispy Spinach and Tuna Rice Cakes
| Category | Ingredient | Amount | Notes |
|---|---|---|---|
| Base | Cooked rice | 2 cups | Preferably cooled for easier handling |
| Tuna (canned, in water/oil) | 1 can (5 oz) | Drained and flaked | |
| Fresh spinach, chopped | 1 cup | Adds a fresh, earthy flavor | |
| Flavor Boosters | Onion, finely chopped | ½ small | For a mild, aromatic touch |
| Garlic, minced | 2 cloves | Adds depth and savoriness | |
| Grated Parmesan cheese | ¼ cup | For a salty, umami-rich note | |
| Egg, beaten | 1 large | Binds the mixture together | |
| Breadcrumbs | ¼ cup + extra for coating | Optional, for added crispiness | |
| Salt | ¼ teaspoon | Enhances overall flavor | |
| Black pepper | ¼ teaspoon | For a subtle kick | |
| Paprika (optional) | ¼ teaspoon | Adds a smoky undertone | |
| For Frying | Olive oil | 2 tablespoons | Ensures crispy edges |
Step-by-Step Instructions
1. Prepare the Mixture
- In a large mixing bowl, combine the cooked rice, flaked tuna, chopped spinach, onion, garlic, Parmesan cheese, beaten egg, breadcrumbs, salt, black pepper, and paprika (if using).
- Mix thoroughly until all ingredients are evenly combined and form a cohesive mixture.
2. Shape the Rice Cakes
- Using your hands, scoop out about 2–3 tablespoons of the mixture and form it into a patty or cake shape, roughly 2–3 inches in diameter.
- For extra crunch, coat each rice cake lightly with additional breadcrumbs before frying.
3. Heat the Oil
- Heat 2 tablespoons of olive oil in a large skillet over medium heat.
- Make sure the oil is hot before adding the rice cakes to prevent sticking.
4. Cook the Rice Cakes
- Place the rice cakes in the skillet, leaving enough space between them for easy flipping.
- Cook each cake for 3–4 minutes on one side, or until golden brown and crispy.
- Flip and cook the other side for another 3–4 minutes. Adjust the heat as necessary to avoid burning.
- Work in batches if needed to avoid overcrowding the pan.
5. Drain and Serve
- Transfer the cooked rice cakes to a plate lined with paper towels to drain any excess oil.
- Serve immediately while hot and crispy, paired with your favorite dipping sauces.
Serving Suggestions
- With Dips: Pair with garlic aioli, spicy sriracha mayo, or cooling yogurt-based dips.
- As a Side Dish: Serve alongside grilled chicken, roasted vegetables, or a fresh salad.
- Snack Time: Enjoy on their own with a squeeze of lemon for brightness.
Pro Tips for Perfect Rice Cakes
1. Use Cooled Rice
- Cooled rice holds together better and creates a firmer texture, making it easier to shape the cakes.
2. Don’t Overcrowd the Pan
- Frying in batches ensures even cooking and prevents the cakes from becoming soggy.
3. Adjust the Seasonings
- Taste the mixture before shaping the cakes. Add more salt, pepper, or spices to suit your preferences.
4. Try Different Oils
- Experiment with avocado oil, ghee, or coconut oil for varying flavors and textures.
How to Customize Your Rice Cakes
- Cheese Upgrade: Substitute Parmesan with feta or cheddar for a different flavor profile.
- Vegetarian Option: Replace tuna with cooked lentils, chickpeas, or mashed sweet potato.
- Spicy Kick: Add chopped jalapeños or a pinch of cayenne pepper.
- Herbal Twist: Incorporate fresh herbs like parsley, cilantro, or dill for added freshness.
Nutritional Information (Per Rice Cake)
| Nutrient | Amount |
|---|---|
| Calories | ~120 |
| Protein | ~7 g |
| Carbohydrates | ~12 g |
| Fat | ~5 g |
| Fiber | ~1 g |
Note: Nutritional values may vary depending on ingredient brands and portion sizes.
FAQs About Crispy Spinach and Tuna Rice Cakes
1. Can I bake these rice cakes instead of frying?
Yes! Preheat your oven to 375°F (190°C) and place the rice cakes on a parchment-lined baking sheet. Bake for 15–20 minutes, flipping halfway through, until golden and crispy.
2. How do I store leftovers?
Store cooked rice cakes in an airtight container in the refrigerator for up to 3 days. Reheat in a skillet or oven to maintain crispiness.
3. Can I freeze rice cakes?
Absolutely! Freeze uncooked rice cakes on a baking sheet until solid, then transfer them to a freezer-safe bag. Cook directly from frozen, adding a few extra minutes to the frying time.

4. What can I use instead of breadcrumbs?
Try crushed crackers, panko, or even almond flour for a gluten-free option.
5. Can I use brown rice instead of white?
Yes! Brown rice adds a nutty flavor and extra fiber, making the cakes even more nutritious.
6. What other vegetables can I add?
Grated zucchini (squeezed to remove excess water), chopped bell peppers, or shredded carrots are great additions.
Why You Should Make These Rice Cakes Today
Crispy on the outside, tender on the inside, and packed with flavor, these Crispy Spinach and Tuna Rice Cakes are the ultimate crowd-pleaser. They’re easy to make, highly adaptable, and perfect for any occasion. Whether you’re preparing a quick snack, a satisfying side dish, or a meal prep idea, this recipe has you covered. Gather your ingredients and give these delightful rice cakes a try—you won’t regret it!