
")

There’s something magical about baking bread at home—the warmth, the aroma that fills the kitchen, and the satisfaction of biting into a loaf that you made from scratch. If you’ve ever wanted to try your hand at bread-making but felt intimidated by complicated recipes, this simple, fail-proof recipe is the perfect starting point. Using basic ingredients like soft wheat flour, yogurt, and a touch of butter, you can create a fluffy and delicious loaf with minimal effort. Whether you’re a novice or an experienced baker, this recipe guarantees a comforting, homemade loaf that will impress anyone lucky enough to enjoy it.
Ingredients:
For the Dough:
- 500 g soft wheat flour (types 450, 480, or 500 work well)
- 280 ml warm milk (adjust as needed based on the yogurt’s consistency)
- 100 g plain yogurt (for extra softness and flavor)
- 30 g butter (softened)
- 1 tablespoon sugar (to activate the yeast)
- 7 g dry yeast (approximately one packet)
- 10 g salt (to balance flavors)
Instructions:
- Activate the Yeast: Start by warming the milk gently until it’s lukewarm (not too hot to touch). Stir in the sugar and dry yeast, then let the mixture sit for about 10 minutes until it becomes frothy and bubbles form. This step ensures that your yeast is active and ready to help your bread rise.
- Make the Dough: In a spacious bowl, mix together the flour and salt thoroughly.Add the yogurt and softened butter, then pour in the activated yeast mixture. Begin mixing the ingredients together, either by hand or using a stand mixer with a dough hook, until a soft dough forms. If the dough seems too dry, add a little more warm milk; if it’s too sticky, sprinkle in some extra flour.
- Work the Dough: Move the dough onto a surface dusted with flour and work it with your hands for approximately 8-10 minutes until it is soft and supple.This process develops the gluten, giving the bread its chewy texture. Alternatively, if using a stand mixer, knead the dough on medium speed for about 5-7 minutes.
- Let the Dough Rise: Place the kneaded dough into a greased bowl, cover it with a clean kitchen towel or plastic wrap, and let it rise in a warm. This step allows the yeast to work its magic, making your bread light and airy.
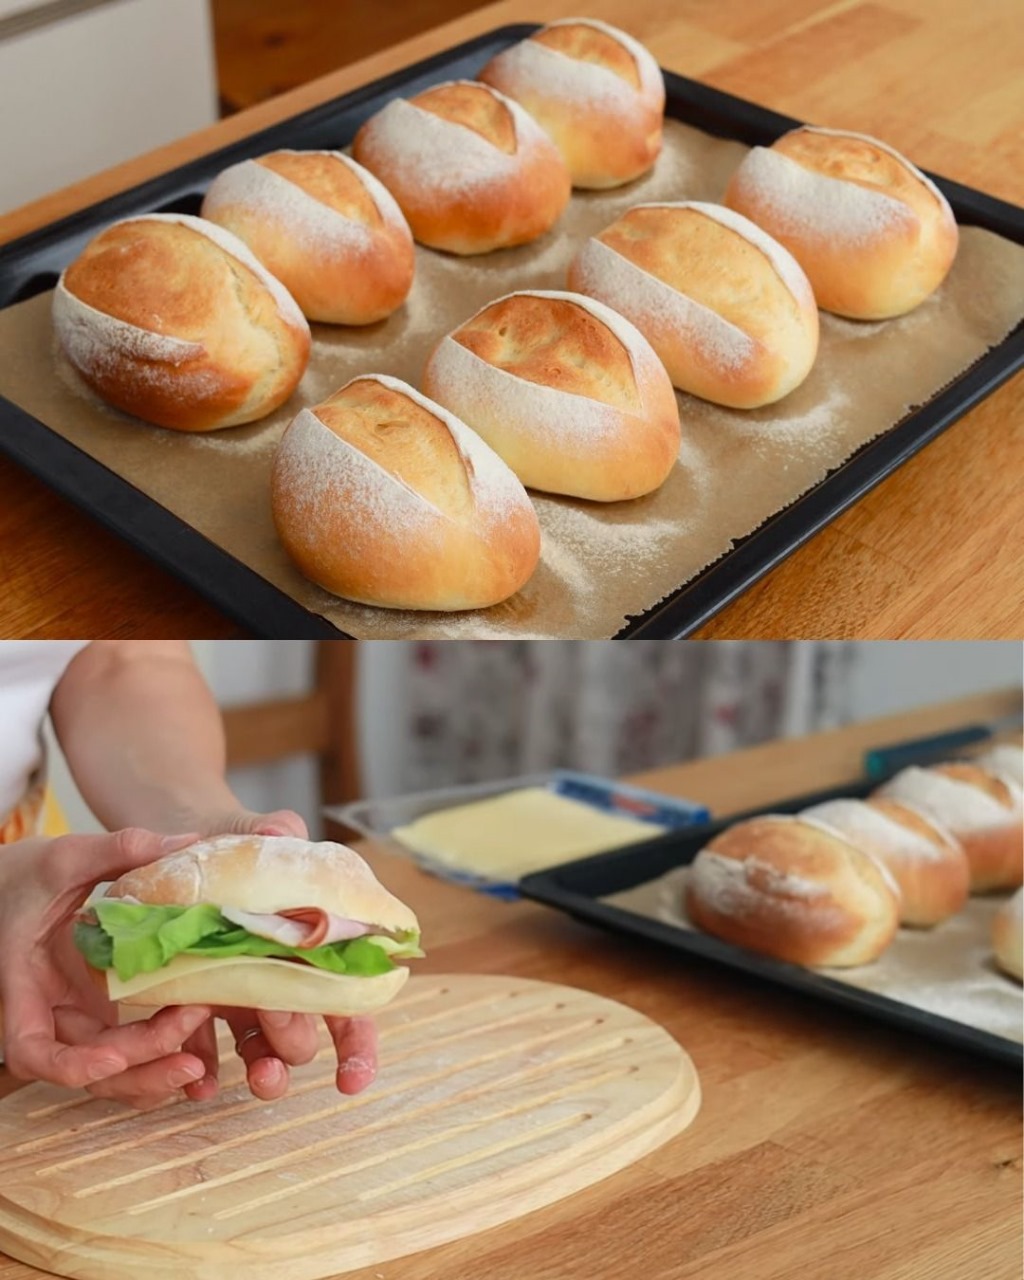
- Form the Loaf: After the dough has doubled in size, gently deflate it to remove excess air. Mold the dough into a loaf shape by folding and tucking the sides underneath. You can place it in a greased loaf pan for a more uniform shape or freeform it on a baking sheet for a rustic look.
- Second Rise: Cover the shaped dough again with a towel and let it rise for another 30-45 minutes, or until it puffs up. During this second rise, preheat your oven to 180°C (350°F).
- Bake the Bread: Once your oven is hot and the dough has completed its second rise, bake the bread for 25-30 minutes, or until the top is golden brown and the bread sounds hollow when tapped on the bottom. If the crust is browning too quickly, cover the top loosely with aluminum foil during the last 10 minutes of baking.
- Cool and Serve: After removing the bread from the oven, let it cool on a wire rack for at least 15-20 minutes before slicing. Cooling the bread helps the inside set, making it easier to slice without tearing. Serve warm with butter, jam, or as the base for your favorite sandwich!
Conclusion:
With just a few simple ingredients and steps, you can bake a delicious, homemade loaf of bread that’s far better than store-bought. The addition of yogurt gives the bread a delightful softness, while the butter and milk create a rich, tender crumb. Whether enjoyed fresh from the oven or toasted the next day, this homemade bread recipe is sure to become a staple in your kitchen. And the best part? You made it yourself, from scratch—no fancy techniques or equipment needed!