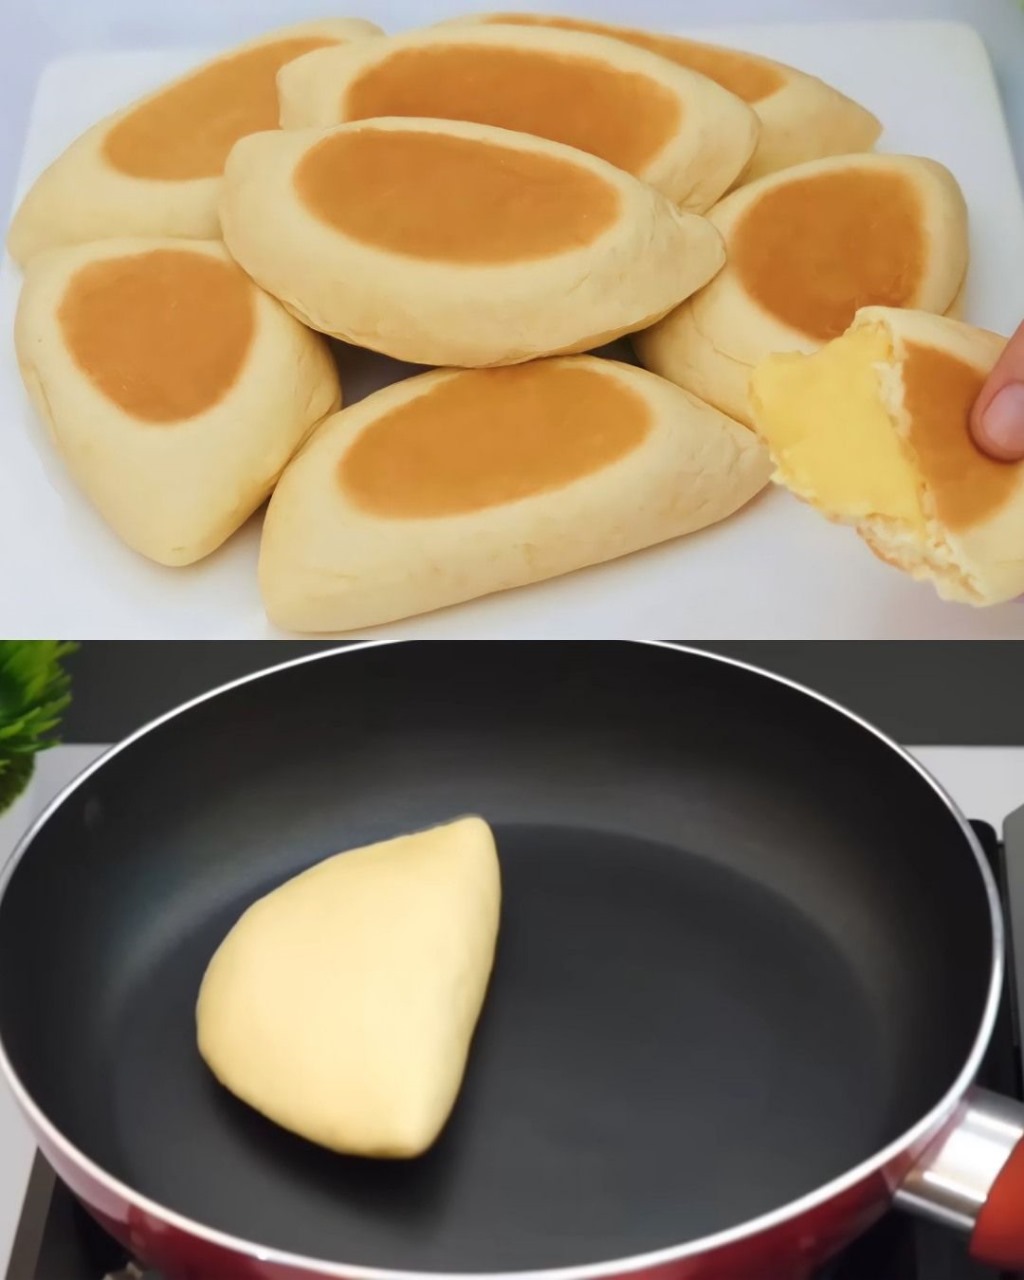
Who says you need an oven to enjoy freshly made, soft, and delicious buns? These vanilla custard cream buns are cooked on the stovetop, making them perfect for anyone without an oven. The combination of a soft, fluffy dough filled with rich vanilla custard is sure to satisfy your sweet tooth.
✨ Ingredients
For the Vanilla Custard Cream:
- Milk: 250g
- Butter: 20g
- Egg Yolks: 3
- Sugar: 50g
- Corn Flour (Cornstarch): 20g
- Vanilla Paste: 1/2 tsp
For the Dough:
- All-purpose Flour: 200g
- Sugar: 25g
- Instant Yeast: 3g
- Egg Yolk: 1
- Warm Milk: 100g
- Butter: 20g
Instructions
Step 1: Prepare the Vanilla Custard Cream
- Heat the Milk:
- In a small saucepan, heat the milk over medium heat until it just begins to simmer. Remove from heat and set aside.
- Mix Egg Yolks and Sugar:
- In a separate bowl, whisk together the egg yolks and sugar until the mixture becomes pale and slightly thickened.
- Add Corn Flour:
- Sift the corn flour into the egg mixture and whisk until smooth and well combined.
- Temper the Eggs:
- Gradually add the hot milk to the egg mixture, continuously whisking to avoid any curdling of the eggs.
- Cook the Custard:
- Pour the mixture back into the saucepan and cook over medium-low heat, stirring constantly, until the custard thickens and starts to bubble.
- Add Butter and Vanilla:
- Remove the saucepan from the heat.
- Stir in the butter and vanilla paste until fully incorporated and smooth.
- Cool the Custard:
- Transfer the custard to a bowl, cover it with plastic wrap (pressing the wrap directly onto the surface to prevent a skin from forming), and let it cool completely in the refrigerator.
Step 2: Prepare the Dough
- Activate the Yeast:
- In a small bowl, combine the warm milk and instant yeast.
- Give it a gentle stir and let it rest for 5 to 10 minutes until a frothy layer forms.
- Mix the Dough:
- In a large mixing bowl, combine the flour and sugar.
- Make a well in the center and add the yeast mixture, egg yolk, and softened butter.
- Knead the Dough:
- Mix until a soft dough forms, then knead the dough on a lightly floured surface for about 10 minutes, or until it becomes smooth and elastic.
- First Rise:
- Place the dough in a lightly greased bowl, cover it with a clean kitchen towel, and let it rise in a warm place for about 1 hour, or until doubled in size.
Step 3: Shape and Fill the Buns
- Divide the Dough:
- Once the dough has risen, punch it down and divide it into equal portions (depending on the size of buns you prefer, usually about 8-10 pieces).
- Shape the Buns:
- Flatten each dough portion into a small disc. Place a spoonful of the cooled vanilla custard in the center of each disc, then fold the dough over the filling, pinching the edges to seal.
- Shape into Balls:
- Gently roll each filled dough ball between your hands to create a smooth, sealed bun.
Step 4: Cook the Buns
- Prepare a Steaming Method:
- Set up a steamer on the stovetop.
- If you don’t have a steamer, you can use a large pot with a steaming rack or a heatproof plate placed inside.
- Steam the Buns:
- Arrange the buns in the steamer, ensuring there is ample space between them to accommodate their expansion.
- Steam the buns over medium heat for about 15-20 minutes, or until they are puffed up and cooked through.
Step 5: Serve and Enjoy
- Cool Slightly:
- Let the buns cool slightly before serving. The custard inside will be hot, so be cautious when taking your first bite.
- Serve Warm:
- These buns are best enjoyed warm, straight out of the steamer. They make a perfect treat for breakfast, dessert, or a sweet snack.
Conclusion
These Vanilla Custard Cream Buns are a delightful treat that’s surprisingly easy to make without an oven. The soft, fluffy dough pairs perfectly with the rich and creamy vanilla custard filling, creating a comforting dessert that’s sure to impress. Whether you’re serving them to guests or treating yourself, these buns are a delicious way to enjoy homemade goodness. Enjoy!


