
")

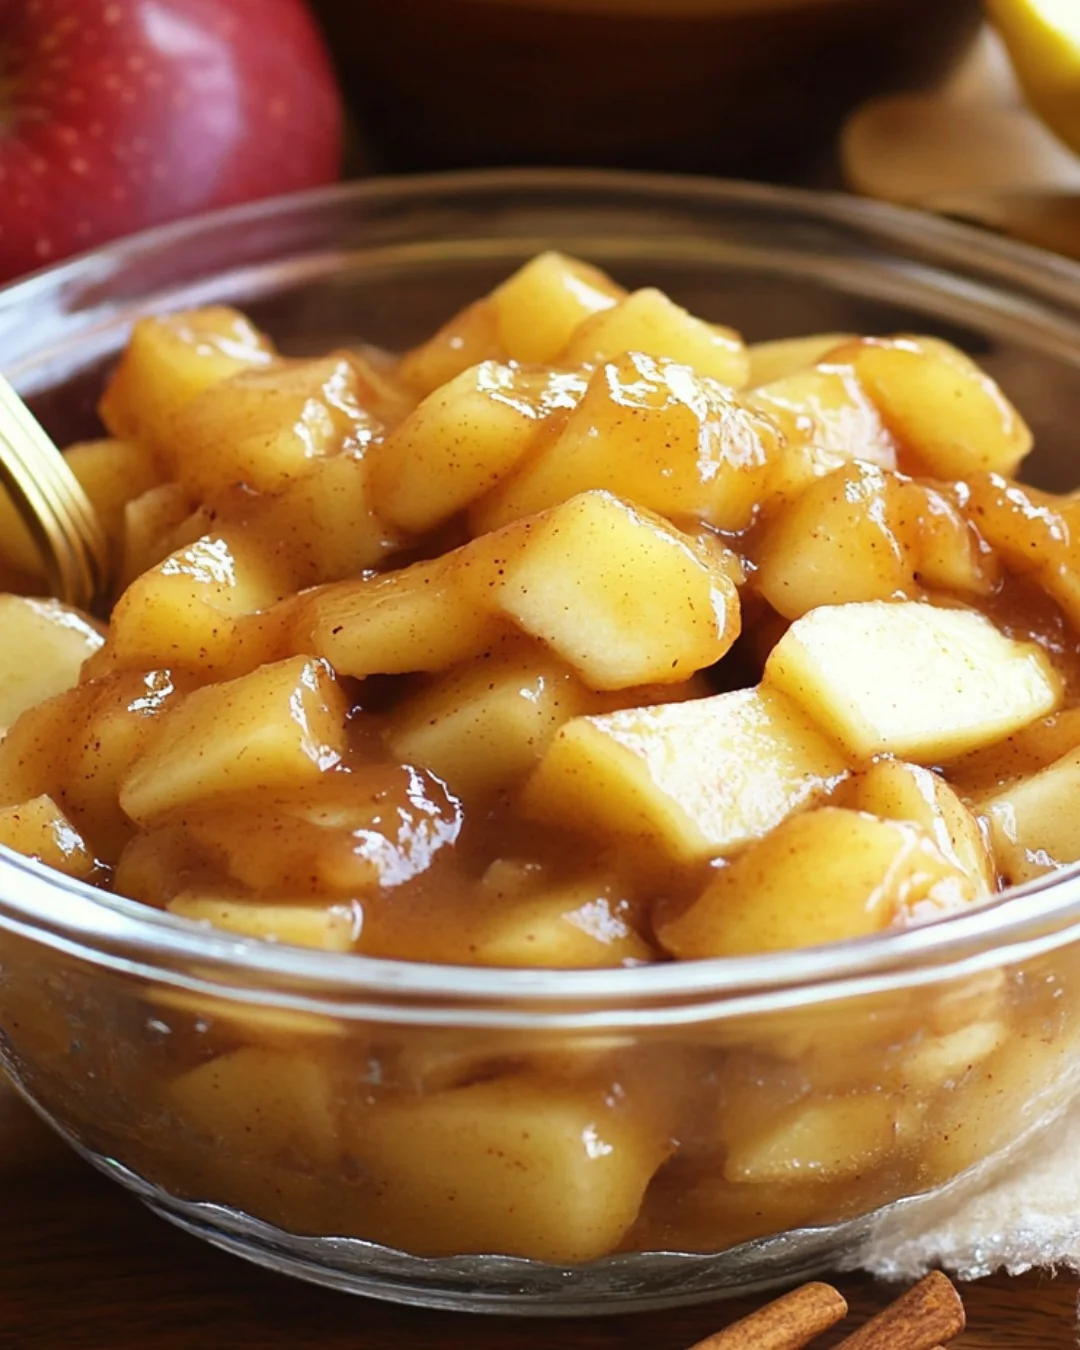
There’s nothing quite as nostalgic as the warm, comforting aroma of homemade apple pie filling bubbling on the stovetop. Whether you’re making a classic apple pie, topping pancakes, or filling a pastry, this rich, cinnamon-spiced filling is a versatile must-have in any baker’s kitchen.
Forget the canned version—this homemade recipe is bursting with fresh apple flavor, warm spices, and just the right balance of sweetness and tartness. It’s easy to prepare and can be stored, canned, or frozen, making it a convenient addition to your favorite desserts all year long.
Why This Apple Pie Filling Is a Must-Try
1. The Ultimate Time-Saver
Homemade apple pie filling isn’t just about flavor—it’s also a huge time-saver. Having a batch of pre-made filling on hand means you can whip up an apple pie, turnovers, or crisps in minutes.
By preparing and storing your filling in advance, you eliminate the most time-consuming part of baking without sacrificing freshness or flavor.
2. Better Than Store-Bought
Most canned apple pie fillings contain preservatives, artificial flavors, and excess sugar. With this homemade version, you control the sweetness, adjust the spices to your taste, and use only the freshest ingredients.

The result? A more vibrant, flavorful, and natural-tasting filling that enhances any dessert.
3. Customizable for Any Dessert
Apple pie filling isn’t just for pies! This recipe is incredibly versatile—you can use it to make:
- Apple turnovers
- Apple crumble or crisp
- Topping for pancakes, waffles, or oatmeal
- Filling for cinnamon rolls or hand pies
- A warm dessert served over vanilla ice cream
The possibilities are endless, making it one of the most useful homemade staples to keep in your kitchen.
Ingredients
- 9 cups fresh apples, peeled, cored, and chopped into uniform sizes
- 2 tablespoons lemon juice
- 3 cups white sugar
- 2 tablespoons brown sugar
- ½ cup cornstarch
- 1 teaspoon ground cinnamon
- ½ teaspoon ground nutmeg
- ½ teaspoon coarse sea salt
- 4 cups water
Directions
- In a large bowl, toss the apples with lemon juice to prevent browning. Set aside.
- In a large Dutch oven or saucepan, mix white sugar, brown sugar, cornstarch, cinnamon, nutmeg, and salt.
- Add 4 cups of water and bring to a low simmer, stirring frequently.
- Add the apples and return to a low simmer. Cover and cook for 6-10 minutes, depending on apple size.
- Apples should easily pierce with a fork, and the sauce should be thickened and reduced.
- Remove from heat and allow to cool before using.
- Store, can, or freeze for later use.
Nutritional Information (Per Serving, Approximate)
- Calories: 652 kcal
- Carbohydrates: 168g
- Protein: 1g
- Fat: 1g
- Saturated Fat: 1g
- Sodium: 239mg
- Potassium: 259mg
- Fiber: 6g
- Sugar: 148g
- Vitamin A: 123 IU
- Vitamin C: 13mg
- Calcium: 24mg
- Iron: 1mg
Choosing the Best Apples for Your Filling
Not all apples are created equal when it comes to baking. The key to the best apple pie filling is using the right mix of apples to achieve the perfect balance of sweetness and texture.
1. The Ideal Apple Combination
For a flavorful and well-balanced filling, use a mix of tart and sweet apples:

- Tart Apples (Firm & Tangy): Granny Smith, Braeburn, Honeycrisp
- Sweet Apples (Soft & Juicy): Fuji, Golden Delicious, Crispin
Combining different apples gives your filling a more complex flavor and a better texture, preventing it from being too mushy or overly sweet.
2. Apples to Avoid
Some apples are too soft and break down too easily, resulting in a mushy filling. Avoid using:
- Red Delicious (too mealy)
- McIntosh (breaks down too quickly)
- Gala (too mild in flavor)
Stick to crisp, firm apples that hold their shape when cooked.
The Secret to a Perfectly Thickened Filling
One of the biggest challenges when making apple pie filling is achieving the right consistency—you want it to be thick, silky, and not too runny.
1. The Role of Cornstarch
Cornstarch is the key thickening agent in this recipe. It helps create a smooth and glossy texture that coats the apples beautifully. However, using too much can make the filling too stiff or gummy, while too little results in a runny pie.
Pro Tip: If your filling seems too thin, allow it to simmer a little longer to reduce excess liquid. If it’s too thick, stir in a little water or apple juice to loosen it up.
2. Avoiding a Soggy Pie Crust
Nothing ruins a pie faster than a soggy bottom crust. To prevent this:
- Pre-cook your filling before adding it to the pie. This removes excess moisture and ensures your pie bakes evenly.
- Let the filling cool before using it to prevent steam from softening the crust.
- Bake your pie on the lower rack of the oven to help the bottom crust crisp up properly.
These simple tricks will ensure a crisp, golden pie crust every time.
How to Store, Freeze, and Can Apple Pie Filling
1. Storing in the Refrigerator
If you plan to use your apple pie filling within 5 days, store it in an airtight container in the refrigerator. The flavors will continue to develop, making it even more delicious over time.
2. Freezing for Long-Term Storage
For longer storage, apple pie filling freezes beautifully.
- Allow the filling to cool completely before transferring it to freezer-safe bags or containers.
- Label with the date and store for up to 6 months.
- Thaw in the refrigerator overnight before using.
Pro Tip: Freeze in individual portions to make it easy to use just the amount you need for different desserts.
3. Canning for Year-Round Enjoyment
If you love having homemade apple pie filling on hand, canning is a great option. Follow proper water bath canning methods to preserve the filling for up to a year.
Frequently Asked Questions (FAQs)
1. Can I use this filling for other desserts besides pie?
Absolutely! This filling works great for apple crumbles, crisps, strudels, turnovers, cheesecake toppings, and even as a warm topping for pancakes or ice cream.
2. How do I adjust the sweetness?
You can reduce or increase the sugar depending on your taste. If using sweeter apples, you may need less sugar. If you prefer a tarter filling, you can add a splash of lemon juice to balance the flavors.
3. How do I make this filling without cornstarch?
If you prefer to avoid cornstarch, you can use:
- Arrowroot powder (use the same amount as cornstarch)
- Tapioca starch (for a slightly chewier texture)
- Flour (though it won’t give the same glossy finish)
4. Why did my filling turn out too watery?
If your filling is too thin, it may need more time to simmer and thicken. Also, different apple varieties release varying amounts of juice, so adjust your thickener accordingly.
5. Can I use whole apples instead of slices?
Yes, but slicing or dicing the apples helps them cook more evenly. If you prefer chunkier filling, cut them into larger pieces.
6. How do I prevent the apples from turning brown?
Tossing the apples in lemon juice helps prevent browning and adds a slight tartness that balances the sweetness.
Conclusion: Why You Need This Apple Pie Filling in Your Kitchen
Making your own homemade apple pie filling isn’t just about better flavor—it’s about elevating your desserts to the next level. With the perfect balance of sweetness, spice, and texture, this filling is an essential recipe for bakers and dessert lovers alike.
Whether you’re baking pies for the holidays, meal-prepping for busy weeks, or simply craving a warm, comforting treat, this apple pie filling will be your go-to recipe for years to come.
Try it today and discover how homemade truly is better than store-bought.